
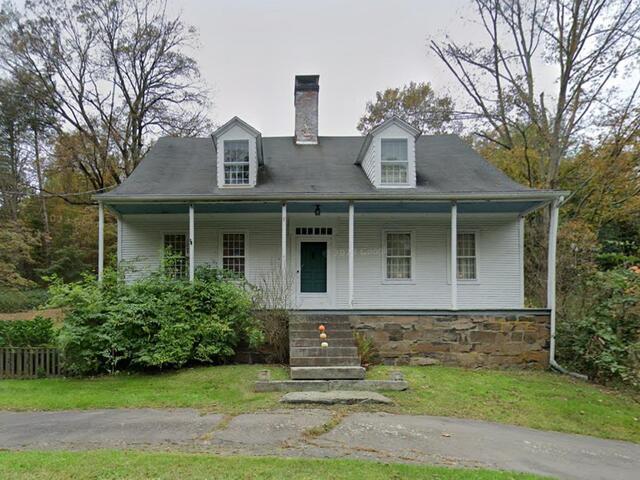
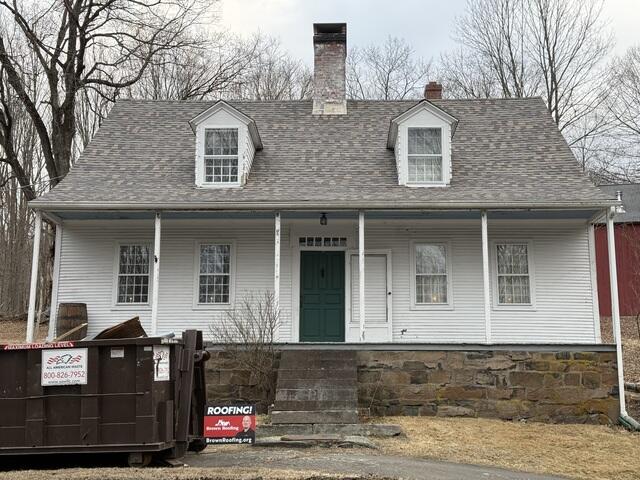
Before: Front View
Here's what Don's roof looked like before replacement. Click through to see the beautiful transformation!
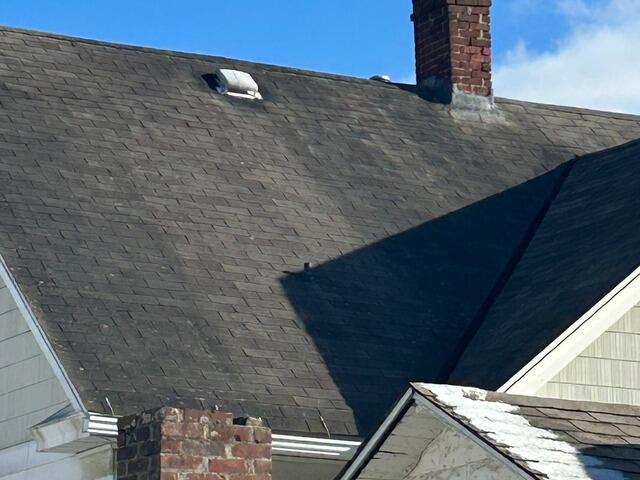
Before: Shingle Discoloration
A closer look at the old roof's shingles shows significant wear and discoloration from years of harsh elements. Let's get to work!
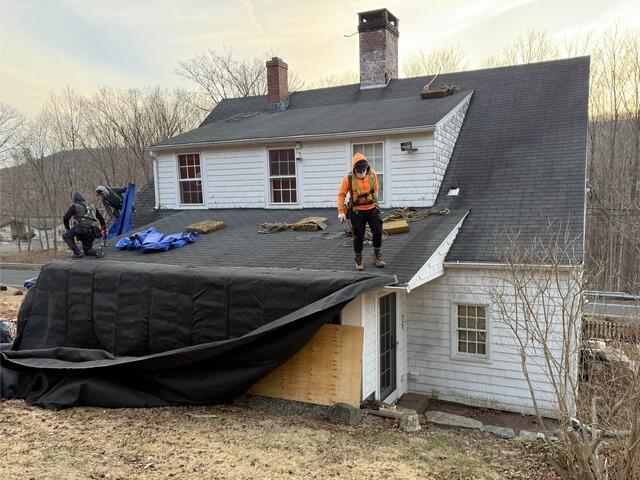
The Teardown Begins
The crew starts things off by thoroughly protecting the homeowner's property by laying down heavy-duty tarps to catch falling debris as well as setting plywood sheets up to protect windows.
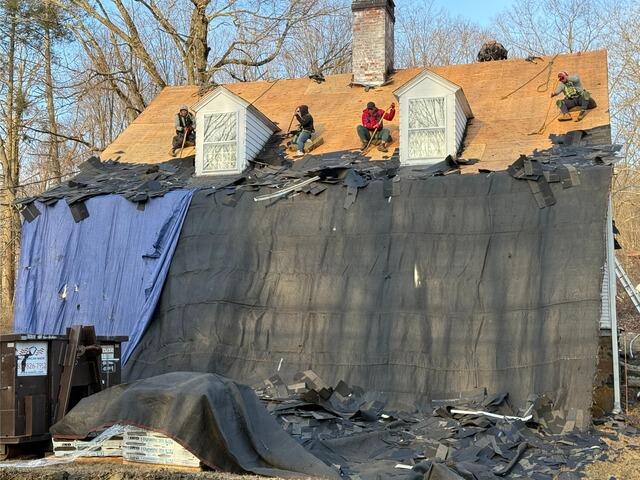
Old Shingles Come Off & Decking Is Exposed
Next, the crew starts stripping off the old shingles. This reveals the plywood layer underneath, which is called the roof decking. The roof decking is the structural foundation of the roof.
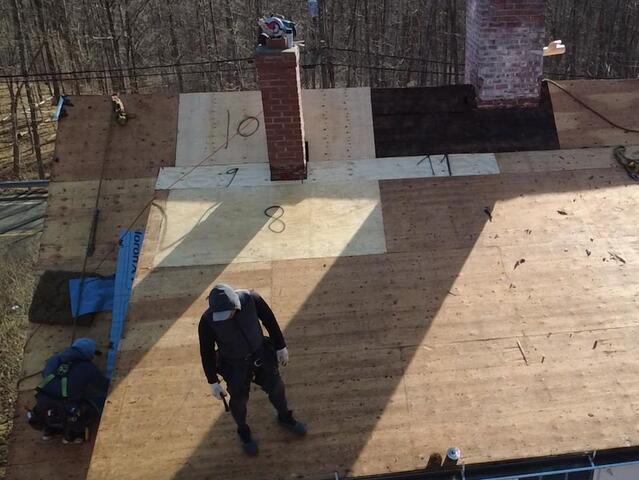
New Plywood Is Installed
Ensuring a solid foundation is key to a long-lasting roof, so the crew carefully inspects the entire decking for any signs of damage, like rot or mold. Any compromised sections are removed and replaced with fresh, durable plywood. To keep things transparent, each new sheet is numbered, allowing the crew to easily inform the homeowner exactly how many were used.
Underlayment Is Installed
Once the new decking is securely nailed into place, the crew installs a layer of underlayment over the entire area. This thin, water-resistant material protects the decking from tough environmental factors like rain, wind, snow, or ice.
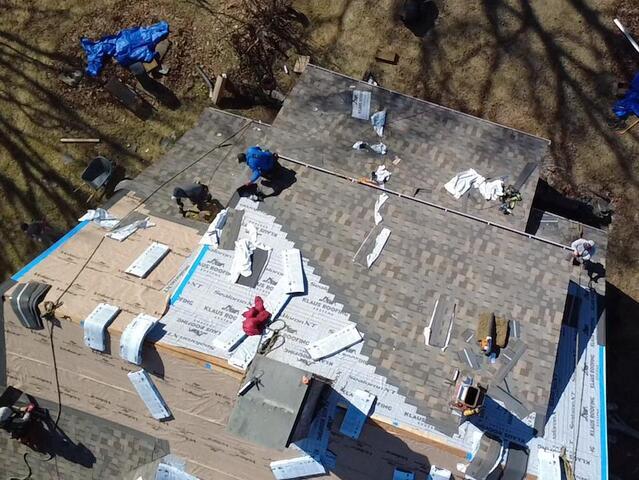
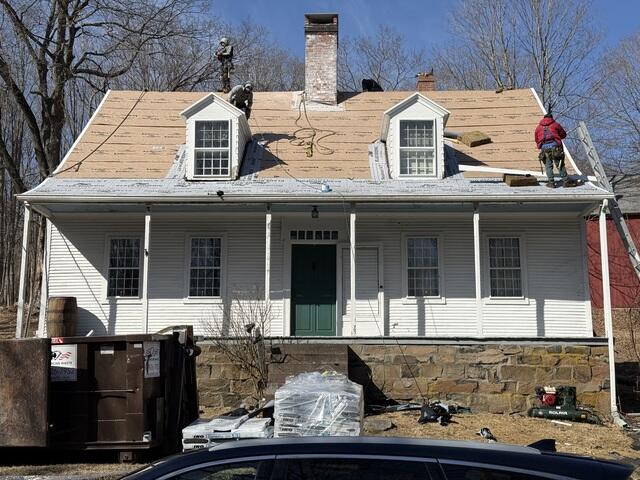
New Shingles Are Installed
Next, it's time to install the new IKO Dynasty premium-laminated shingles. These rugged, superior-quality shingles come in a variety of stylish shades, and Don has selected the elegant Cornerstone color for his new roof.
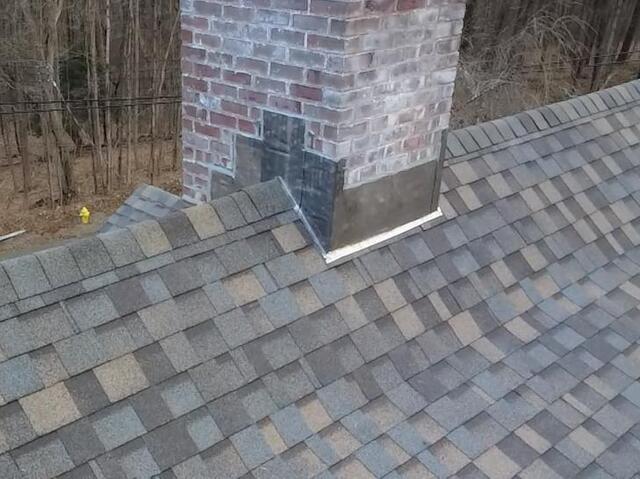
New Flashing Is Installed on Chimney
The chimney is flashed with thin, durable metal. This prevents water from seeping into this vulnerable junction.
After: The Finished Look
With a couple more final touches, like installing a ridge vent and cap, as well as securing flashing over all pipes - the new roof is complete!