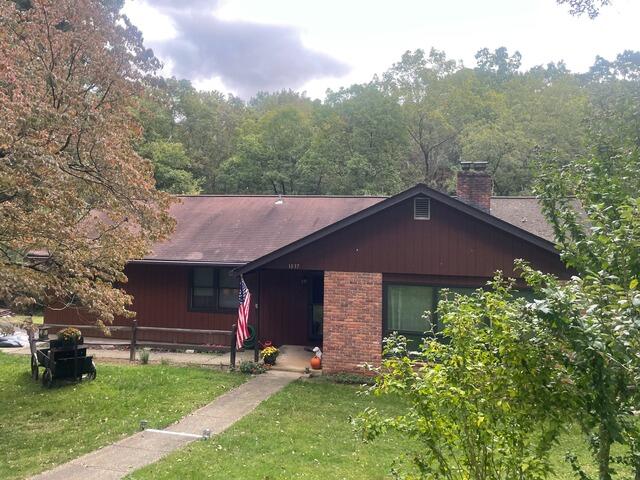
The Roof Before
Take a gander at Richard's roof before the replacement. Even from a distance, it's clear this roof has been through quite a lot. Click through to see the amazing transformation!
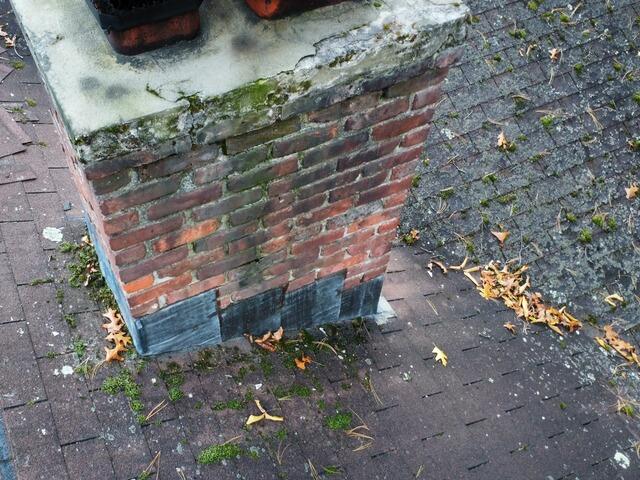
Before: Mossy Chimney
Richard had quite a bit of moss growth on his old roof, especially around the chimney, signaling significant moisture buildup. Time to fix that and restore his roof to its former glory!
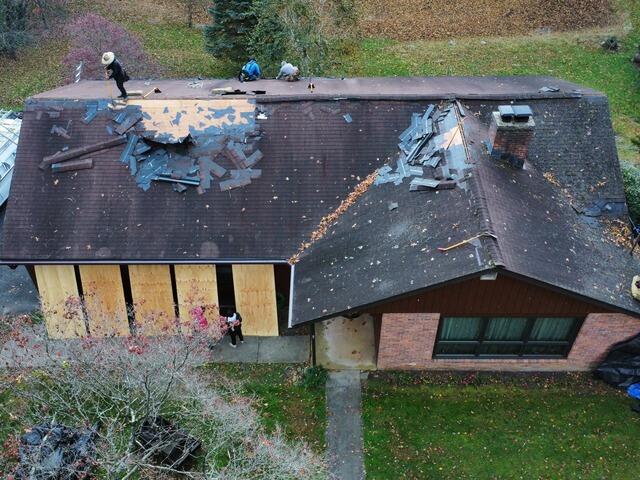
The Old Shingles Come Off
The crew starts by carefully stripping off the old shingles, revealing the plywood foundation beneath, known as the roof decking.
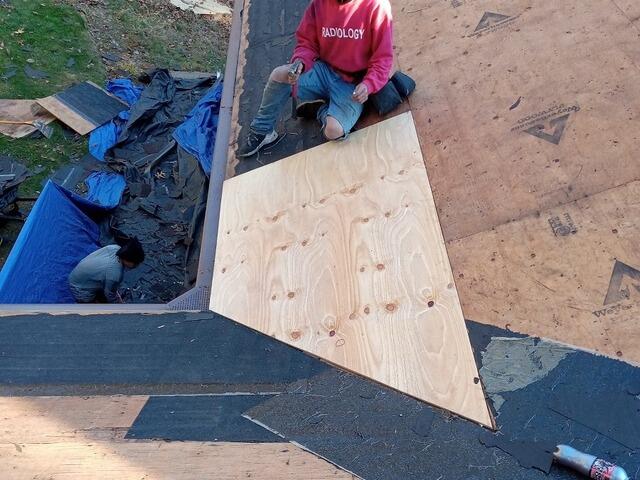
New Plywood Is Installed
The crew thoroughly inspects the decking for any damage, such as rot or mold. Any compromised sections are removed and replaced with fresh, sturdy plywood, carefully cut to fit perfectly in place.
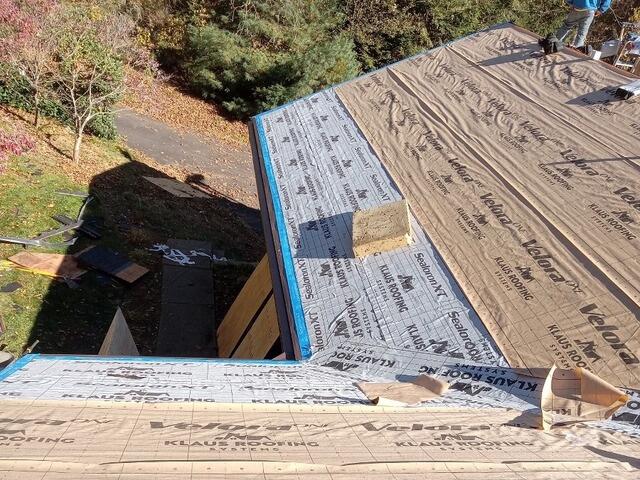
Underlayment Is Installed
Once the decking is inspected and all damaged sections are replaced, the crew installs the underlayment across the entire surface. This thin, waterproof layer provides essential protection against rain, snow, ice, and other harsh elements.
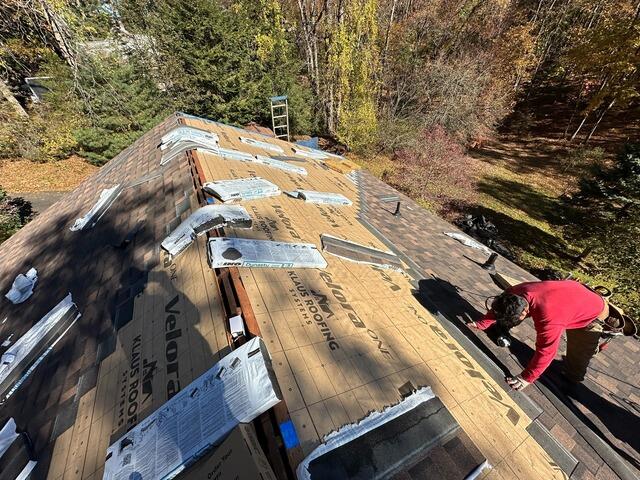
The New Shingles Go On
Next, it's time to install the stunning IKO Dynasty shingles! Richard selected the elegant Shadow Brown color, and our crew gets to work, installing the shingles in a "staircase" pattern for a perfectly seamless look.
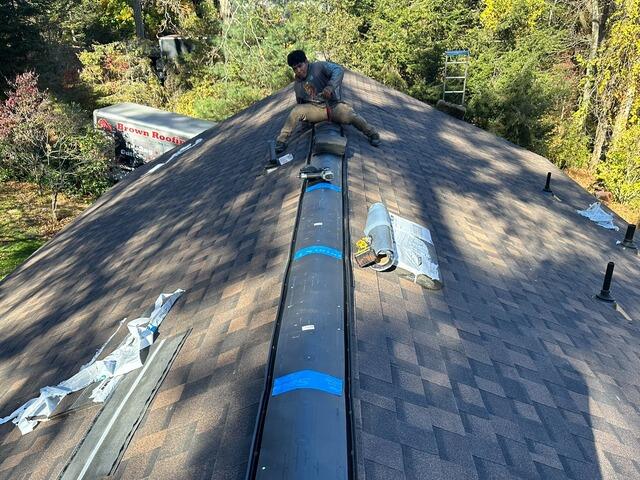
Ridge Vent Is Installed
A vent is installed along the ridges of Richard's roof, providing an escape for hot, moist air rising from inside the house. This helps prevent damaging condensation buildup, ensuring the roof stays in tip-top shape for years to come.
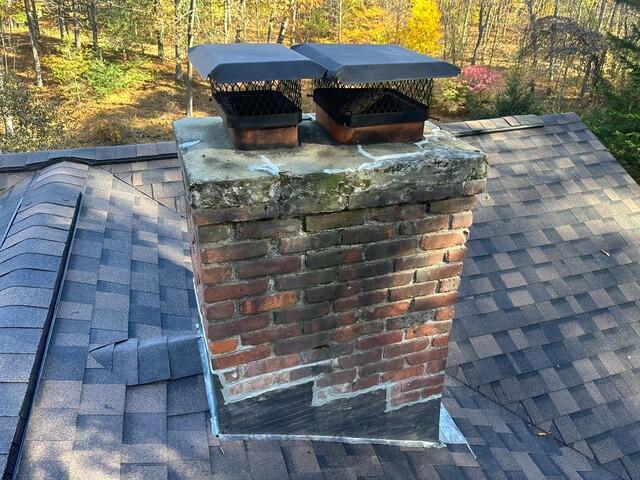
New Flashing Is Installed on the Chimney
The chimney is flashed with durable thin metal, creating a barrier that prevents water from seeping through vulnerable junctions. This eliminates the risk of moisture buildup, which moss thrives on, keeping Richard's roof safe and dry.
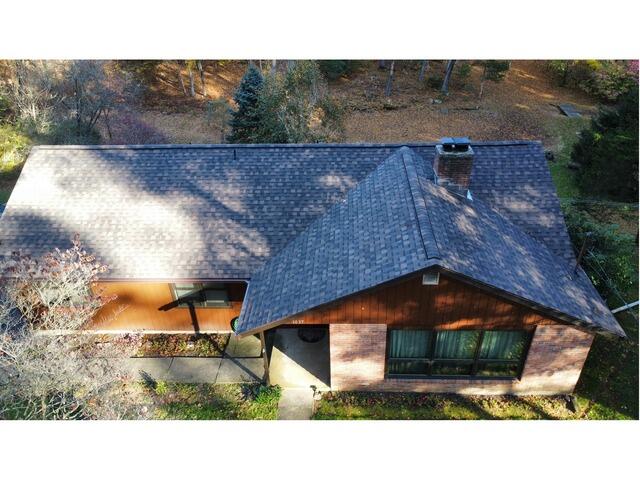
The Roof After
After a few final touches and a thorough inspection, Richard's roof is complete and looking better than ever!

