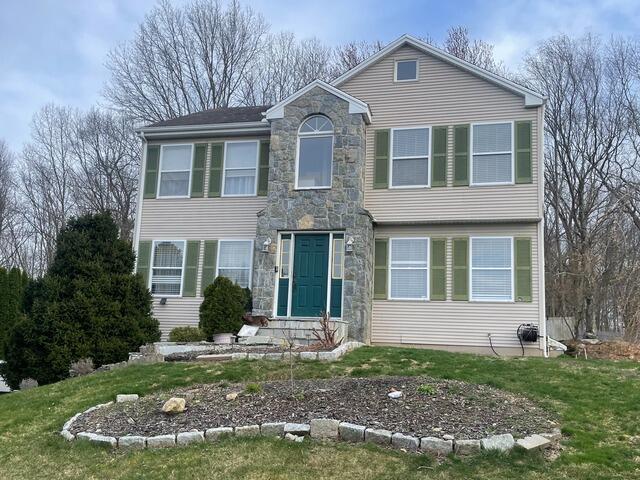
Before: Front View
Even from afar, you can spot the white patches of invasive lichen spreading across Liridon's roof. Click through to see how we fixed this roof up!
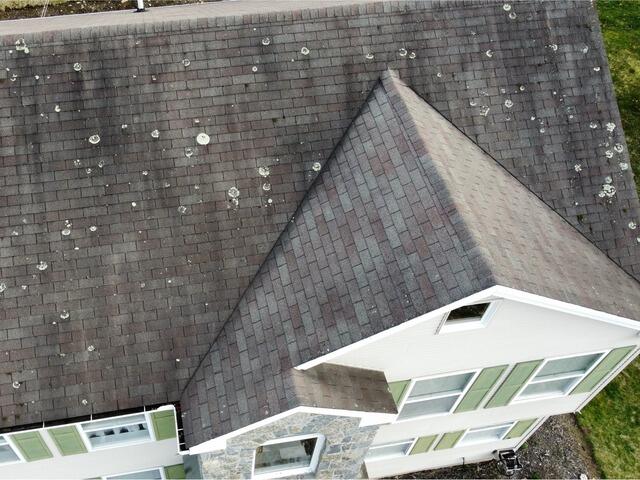
Before: Top View
Here's another angle of the old roof. From this bird's-eye view, it's clear that this roof has definitely seen better days. Time to get started on the transformation!
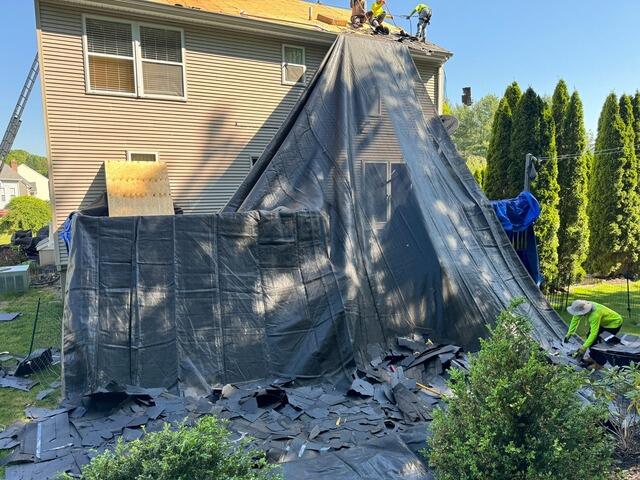
Old Shingles Are Stripped
The crew gets started by removing the old shingles. To ensure the homeowner's property stays safe, large tarps are laid out around the roof to catch falling debris and protect the landscape from any damage.
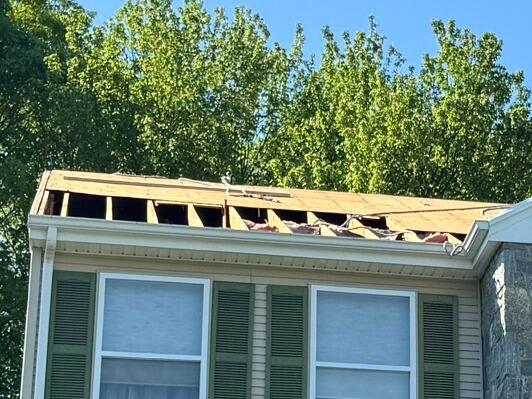
Sheathing Is Examined & Replaced
After all of the shingles are removed, the plywood foundation underneath, called the roof sheathing, is carefully inspected for any signs of damage, like rot or mold. Any affected areas are removed and replaced with brand-new plywood.
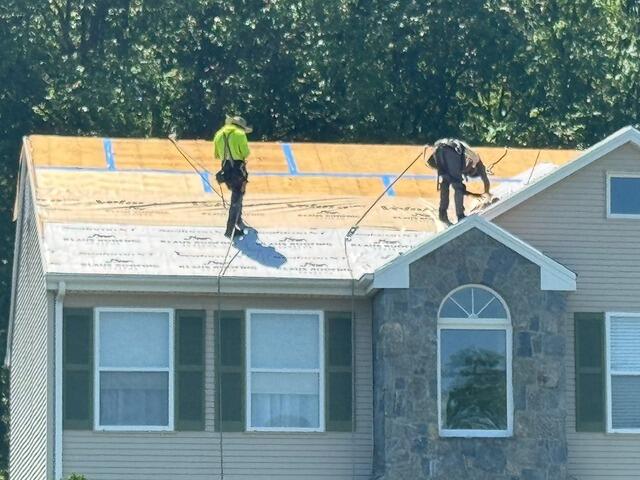
Seams Are Taped & Underlayment Is Applied
Once the new plywood is securely nailed down, the crew reinforces the seams of each plywood sheet by taping them with all-weather deck tape. This extra step ensures added durability. Following that, a layer of underlayment is applied across the entire surface. This thin, water-resistant material acts as a protective barrier, shielding the sheathing from rain, snow, ice, and other harsh weather conditions.
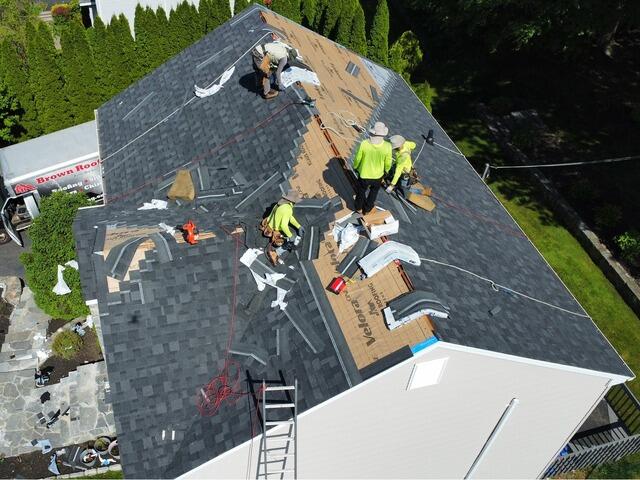
New Shingles Are Installed
Now it's time to install the new shingles! Brown Roofing trusts IKO Dynasty premium-laminated shingles for their durability and aesthetic appeal. Liridon has chosen the sleek and modern Graphite Black shade for his new roof.
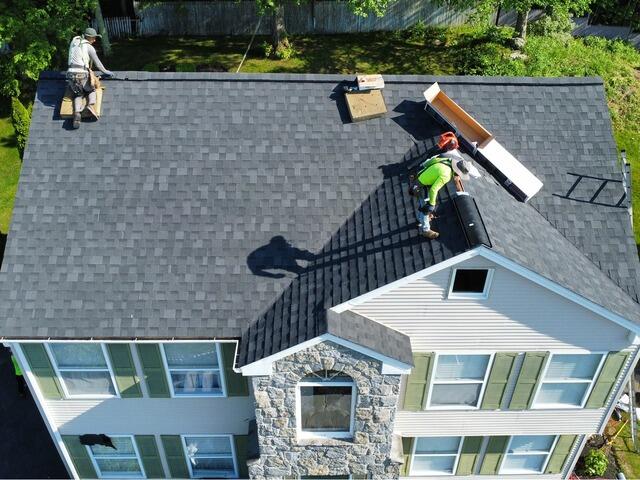
Ridge Vent Is Installed
A ridge vent is installed along the ridge of the roof to ensure proper airflow circulation. This allows hot air to rise and escape, preventing damaging condensation buildup inside the attic and helping to maintain the roof's integrity over time.
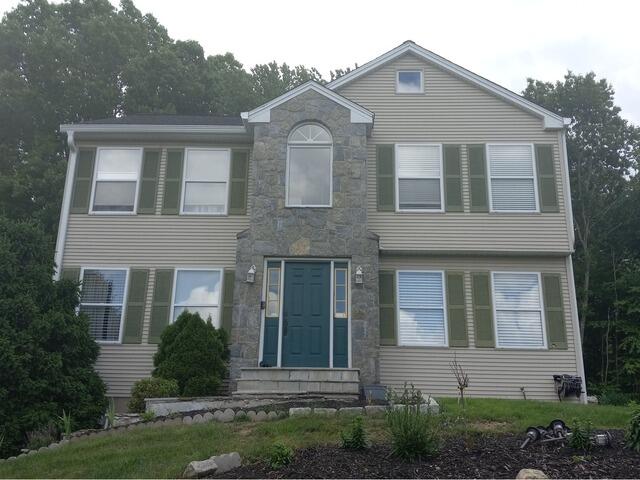
After: Front View
The roof installation is now fully complete, with every detail meticulously finished and ready to withstand the elements for years to come!

