

The Roof Before
Here's a look at Makeda's roof before the makeover. Click through to see the incredible transformation!
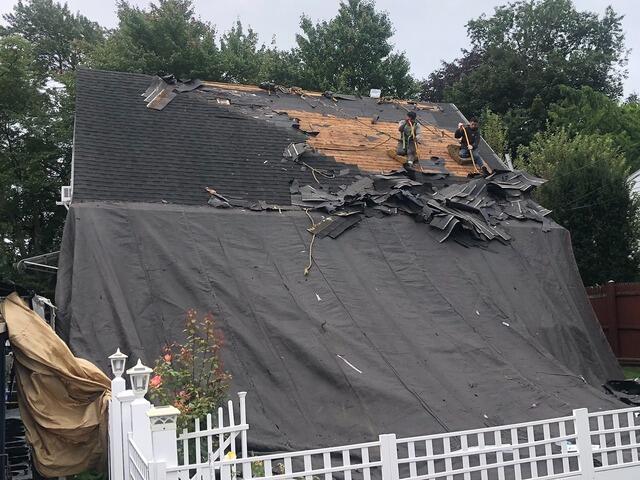
Old Shingles Are Removed
The process begins with removing the old shingles. Heavy-duty tarps are laid out to protect the house and landscape, ensuring a smoother cleanup. Underneath the shingles is a layer of wood, known as the roof decking.
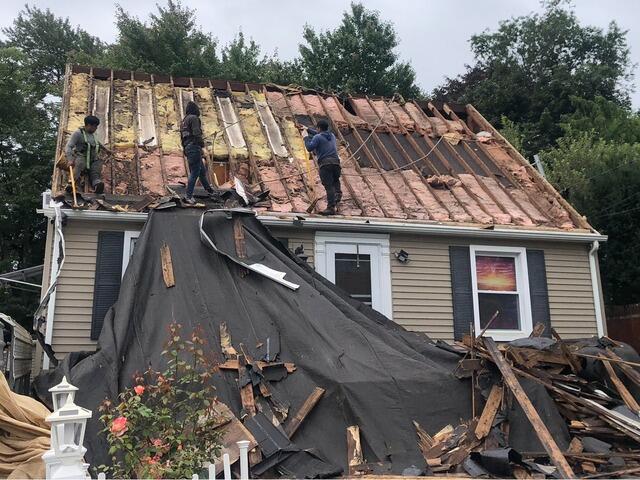
Old Decking Is Removed
Since the decking is the roof's structural foundation, it must be in perfect condition without any signs of damage like rot or mold. The crew found that the entire decking needed replacement, so they carefully stripped it off.
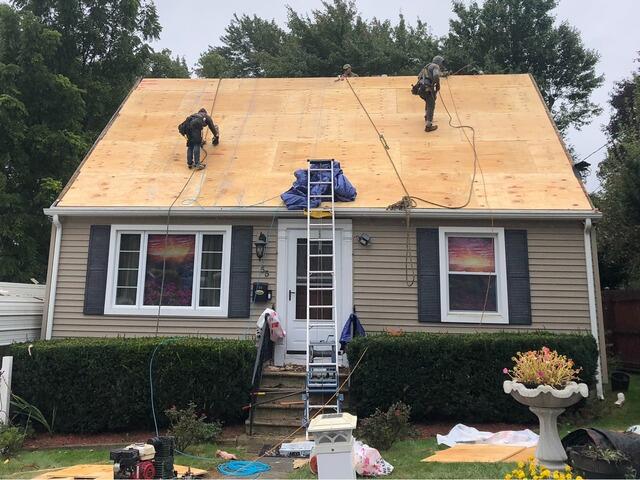
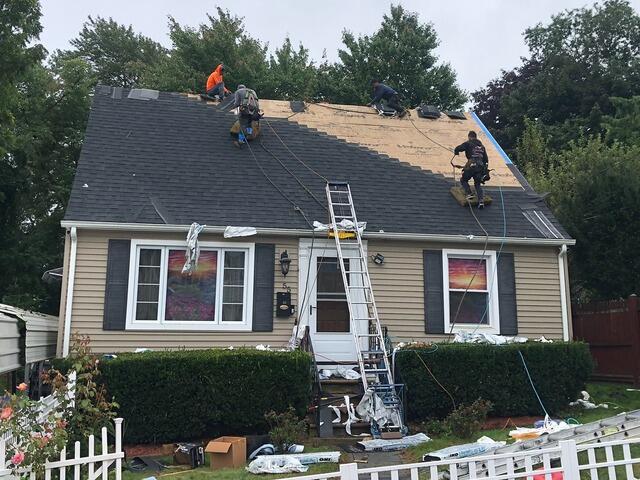
New Decking Is Installed
The crew installs ultra-durable CDX plywood for the new decking. Each sheet is carefully fitted and securely nailed into place, providing a strong base for the new roof.
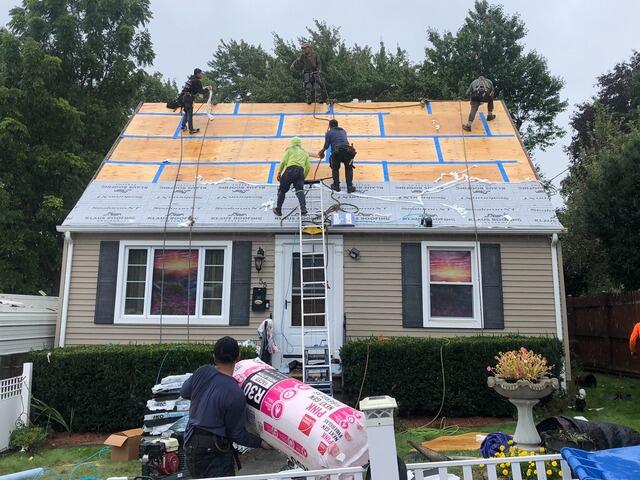
Seams Are Taped & Underlayment Is Applied
Once all of the plywood is nailed into place, the crew tapes up the seams of each sheet with heavy-duty, all-weather deck tape. Next, underlayment is installed over the entire surface. This thin, water-resistant layer of synthetic felt protects the decking from harsh elements like rain, snow, or ice.
New Shingles Are Installed
Next, it's time to start installing the new shingles. Brown Roofing proudly uses IKO Dynasty premium-laminated shingles for all of their roofs backed by our 50-year warranty. These shingles come in a variety of colors, and Makeda has selected the elegant Shadow Brown for her new roof.
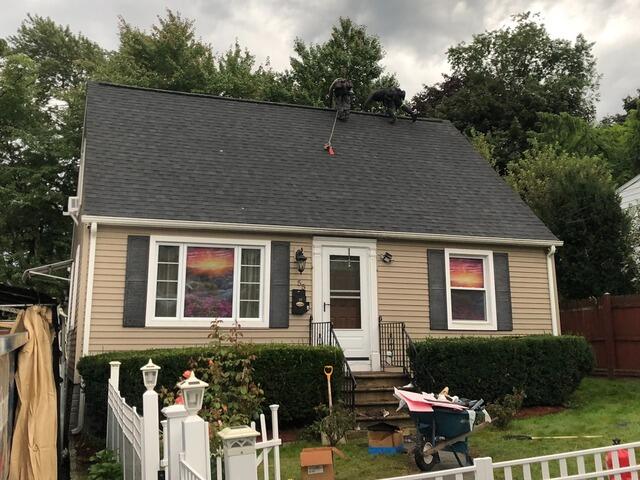
The Finished Look
The crew installs a ridge vent on the peak of the roof to ensure proper airflow. After that, the roof is complete!