
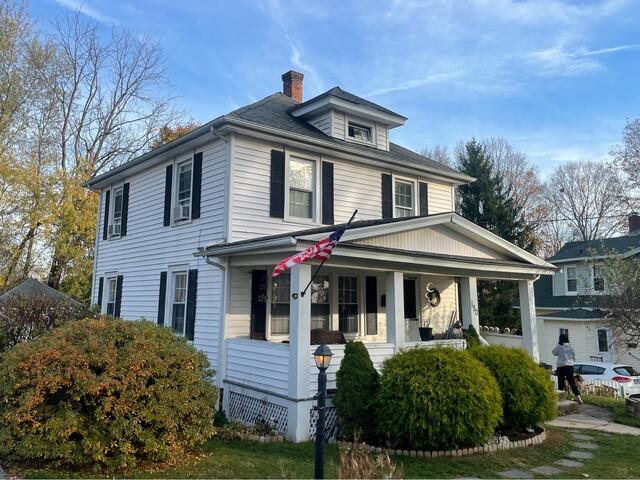
Before: Front View
This is what Korey's roof looked like before the renovation. Click through to see the awesome transformation!
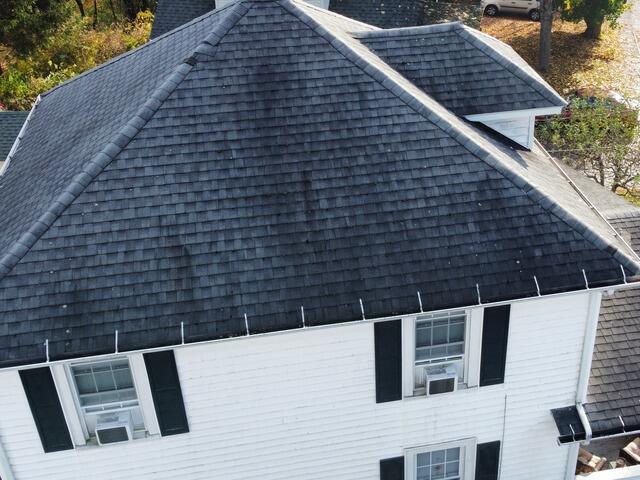
Before: Algae & Lichen
A closer look at the north side of Korey's roof reveals heavy algae and lichen growth. The black streaks are roof algae, while the white spots are lichen. Plus, a couple shingles are out of place. This roof is ready for an upgrade!
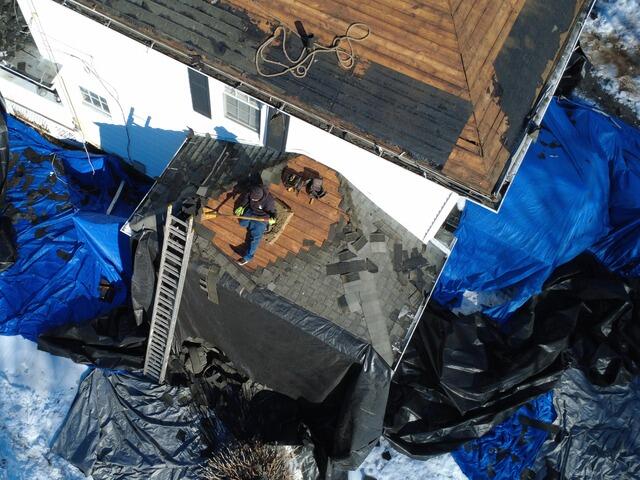
The Teardown Begins
The crew begins the roof removal by carefully stripping off the old shingles. This exposes the wooden foundation beneath, known as the roof decking. Once the shingles are removed, the crew will thoroughly inspect the decking for any signs of damage, such as rot or mold.
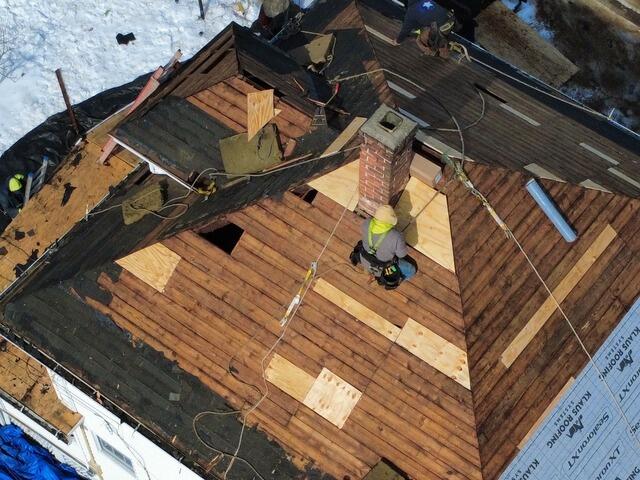
New Plywood Is Installed
Any damaged sections of the decking are removed and replaced with brand-new CDX plywood, custom-cut to fit perfectly where the old pieces were. Each new section is then securely nailed into place, ensuring a solid foundation for the new roof.
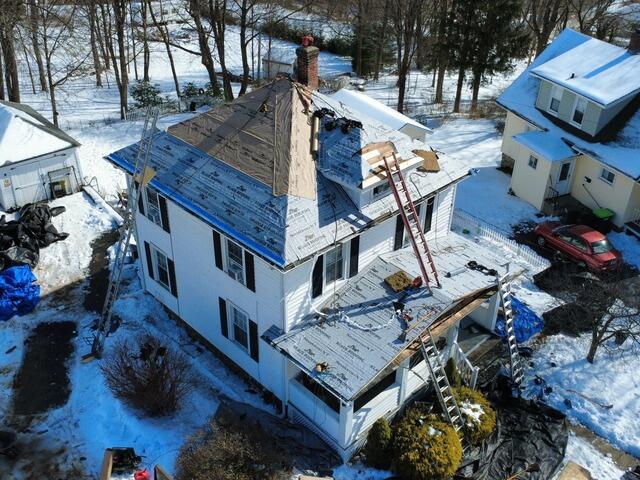
Underlayment Is Applied
A layer of underlayment is applied across the entire decking. This thin, waterproof synthetic felt acts as a protective barrier, shielding the decking from harsh elements like rain, snow, and ice.

New Shingles Are Installed
Next, it's time to start installing the new shingles! The crew installs IKO Dynasty premium-laminated shingles, Brown Roofing's top choice for their durability and beauty. Korey has selected the elegant shade of Summit Gray for his new roof.
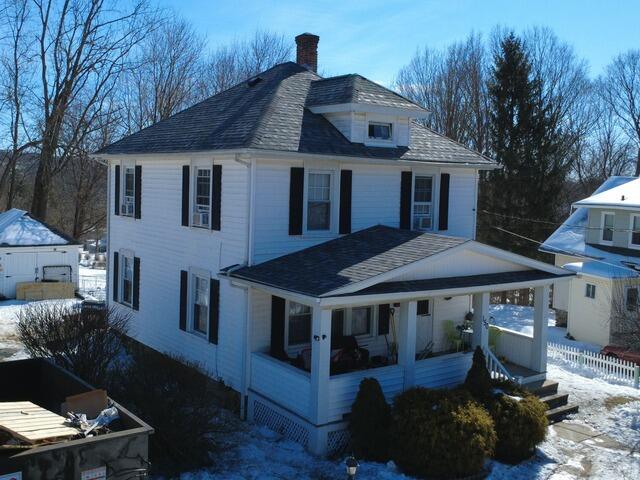
The Finished Product
After all the shingles are installed and the crew adds a few finishing touches, the new roof is complete and ready to stand strong for years to come!