
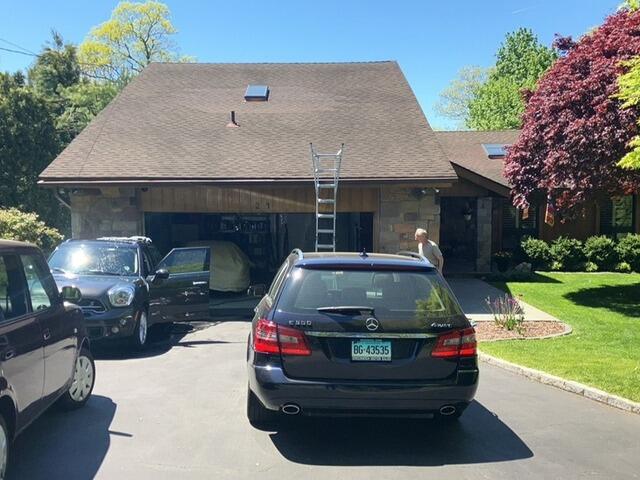
Before: Mismatched Shingles
Before, Jon's roof had shingles in various shades - similar, but not identical - which was noticeable from afar.

Tearing Down the Old Roof
Our crew begins by carefully removing the old shingles. This exposes the plywood layer underneath, which is called the roof decking.
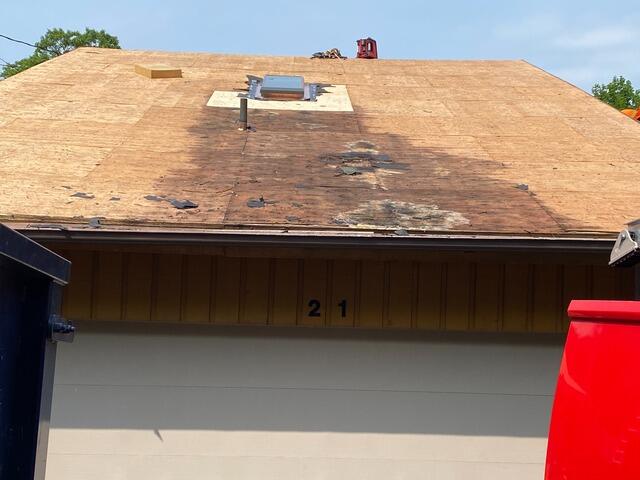
Major Stain Situation
As the roof's structural foundation, it's crucial that the decking is in excellent condition. Here, we notice significant staining on these plywood sheets, indicating substantial water damage.
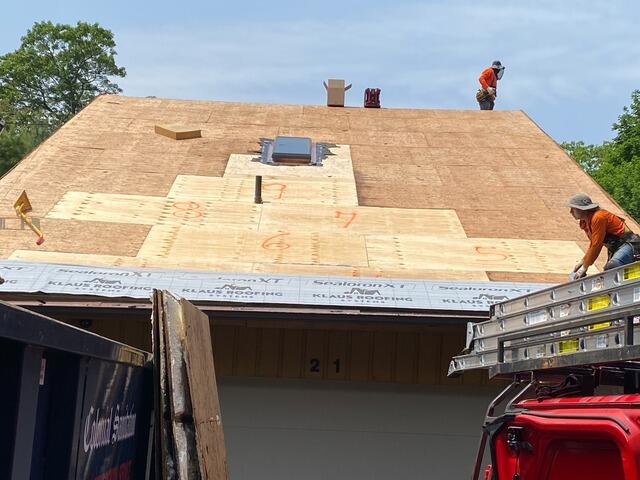
Water Damaged Wood Replaced
All damaged plywood is promptly removed and replaced with fresh, new plywood, carefully fitted to match the exact space left by the old material.
Time For Underlayment
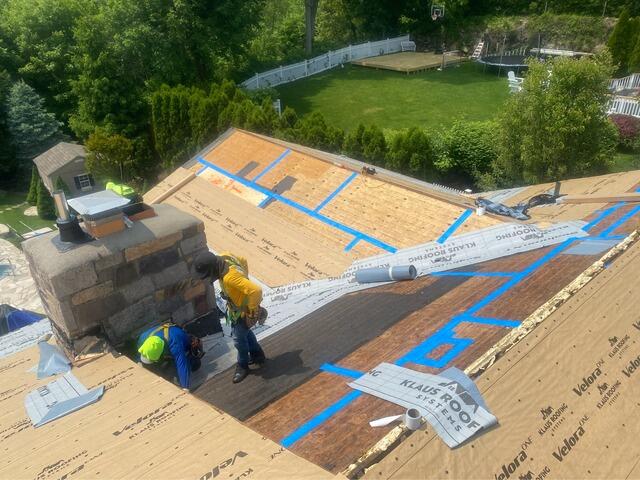
Once all the necessary plywood is replaced, the crew reinforces the decking by sealing any seams with heavy-duty deck tape. Then, a layer of underlayment is applied - a thin, water-resistant barrier that helps protect the decking's integrity. To further safeguard against water damage, a specialized underlayment called Ice & Water Shield is applied along the roof edges and in the valleys.
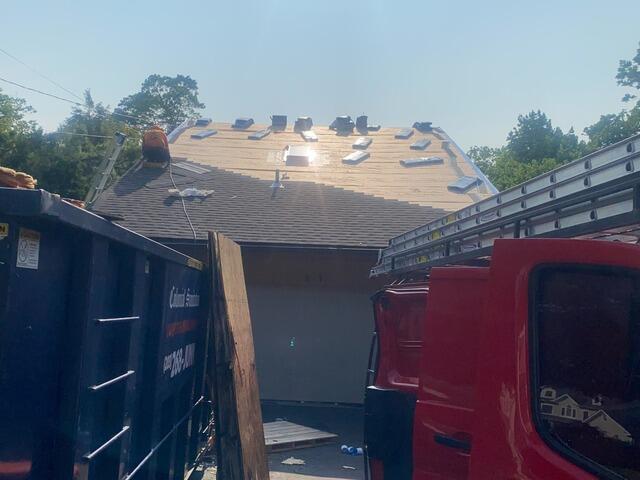
New Shingles Go On
Once the underlayment is fully in place, it's time to install the new shingles. Brown Roofing uses premium-quality, heavyweight laminated asphalt shingles by IKO Dynasty, available in a variety of colors. For his new roof, Jon has chosen the sleek and sophisticated Shadow Brown.
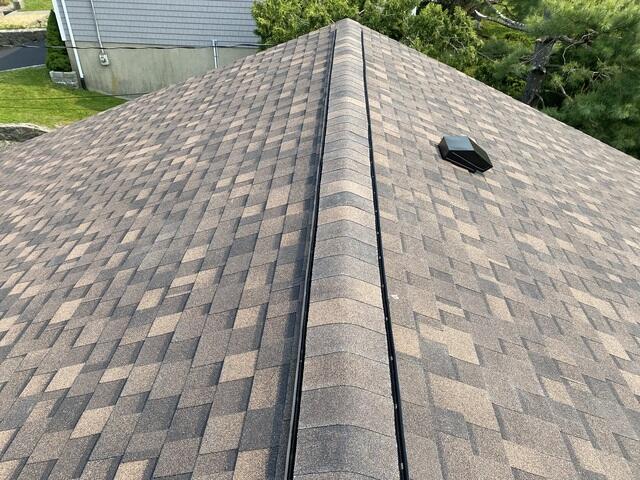
Ridge Vent Is Installed
A ridge vent is installed at the roof's peak to promote proper air circulation throughout the house and roof. This helps prevent condensation buildup and the potential damage it could cause.
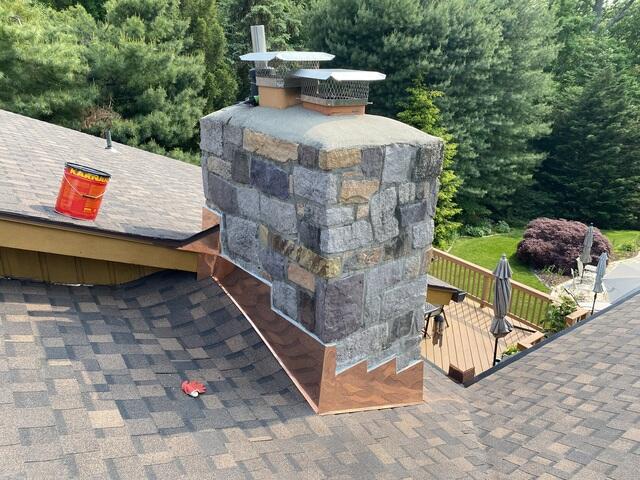
Chimney Gets Copper Flashing
Jon also chose elegant copper flashing for his chimney. Flashing is a thin material, typically made of metal, that acts as a barrier, protecting vulnerable roof joints from water damage.
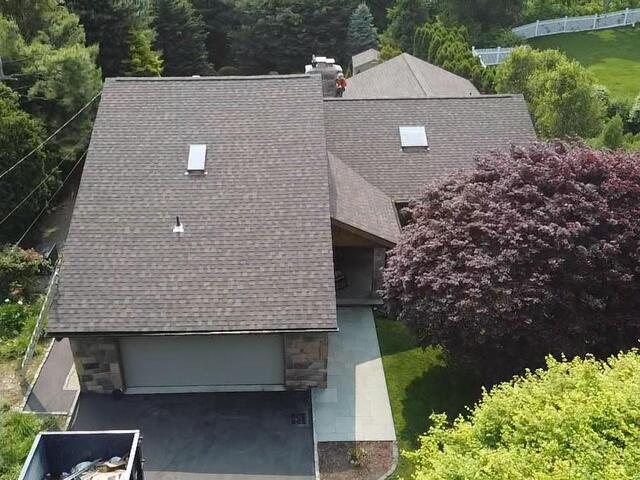
After: The Finished Look
After adding flashing to the pipe vents and double-checking every detail, Jon's new roof is complete!