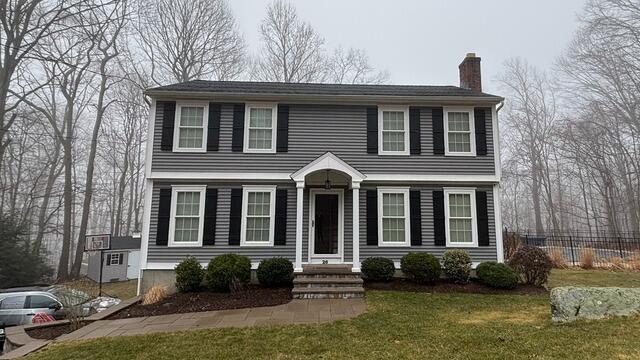
Before: Front View
Here's a look at Chris's old roof from the front before the transformation. Click through to see the incredible upgrade!
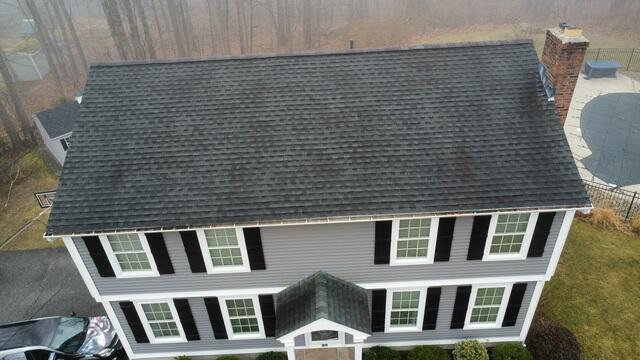
Before: Aerial View
This bird's-eye view shows just how much wear and tear Chris's old roof had endured, with noticeable shingle discoloration all around. Time to give this roof the update it deserves!
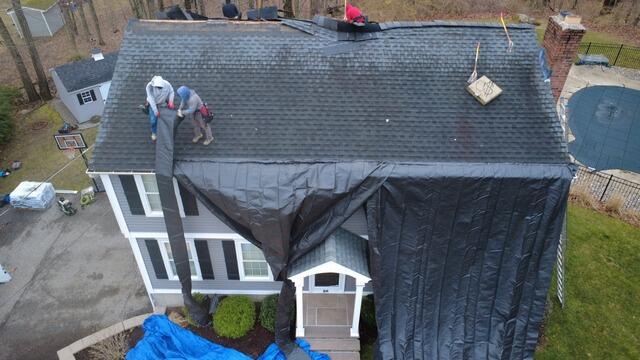
Preparing for the Teardown
Before the teardown begins, the crew lays out large tarps along the edges of the house and yard to protect the homeowner's property from falling debris. Plus, it makes cleanup a but more efficient.
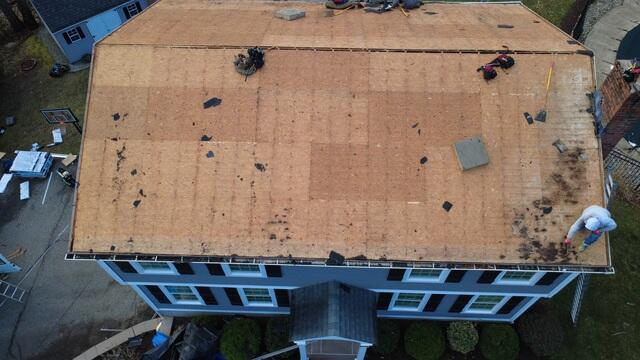
The Sheathing Is Examined
With all the old shingles stripped away, what's left is the plywood layer known as the roof sheathing - the backbone of the roof. To ensure a solid foundation, the crew carefully inspects every inch for signs of damage, rot, or mold.
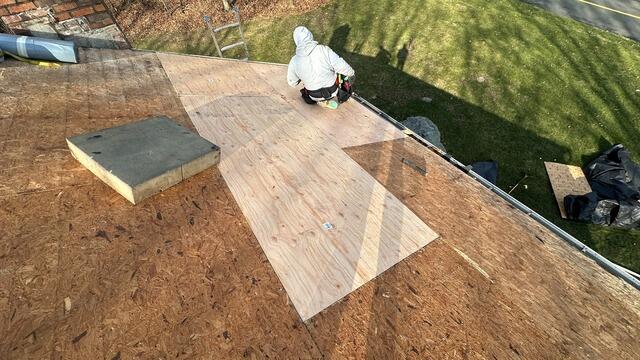
Bad Plywood Is Removed & Replaced
Any sections of the sheathing found with damage are removed and replaced with sturdy new 1/2" CDX plywood, guaranteeing a strong and reliable base for the new roof.
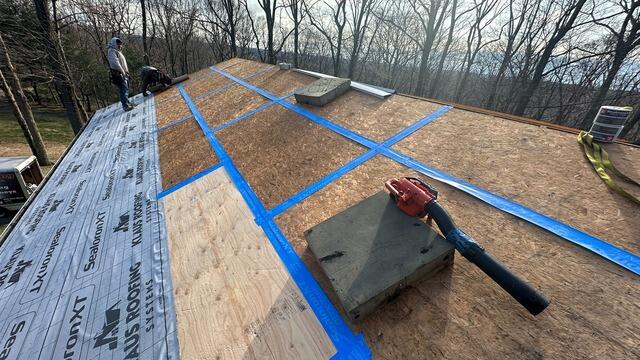
Seams Are Taped & Underlayment Is Installed
Next, the seams of each plywood sheet in the sheathing are taped up with all-weather Sealoron XT deck tape for added reinforcement. After that, a layer of underlayment is installed over the entire surface. This thin, waterproof membrane shields the roof from harsh weather elements like rain, wind, snow, or ice, helping to extend its lifespan.
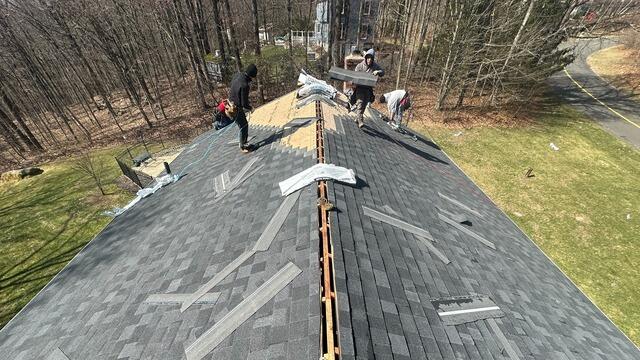
New Shingles Are Installed
Next, it's time to install the new shingles! Chris has chosen the stunning shade of Summit Gray from the IKO Dynasty premium-laminated collection. These top-tier shingles are backed by Brown Roofing's 50-year warranty, ensuring lasting durability and style.
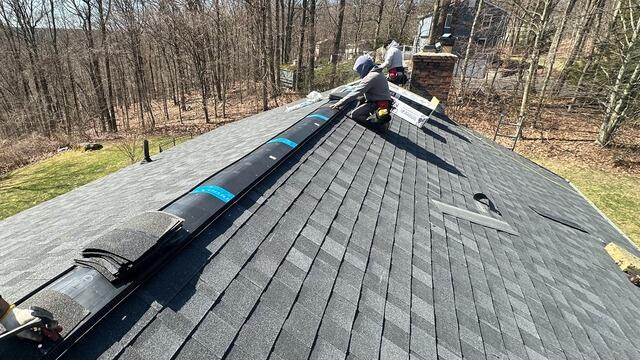
Ridge Vent Is Installed
To ensure the roof breathes properly, a shingle vent is placed along the ridges, helping hot, humid air to escape and reducing the chance of damaging moisture buildup.
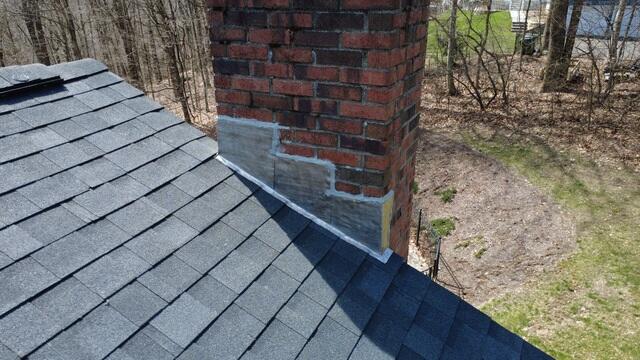
New Chimney Flashing
A thin metal flashing is placed around the chimney where it connects to the roof. This serves as a protective shield, preventing water from infiltrating the junction and causing potential damage.
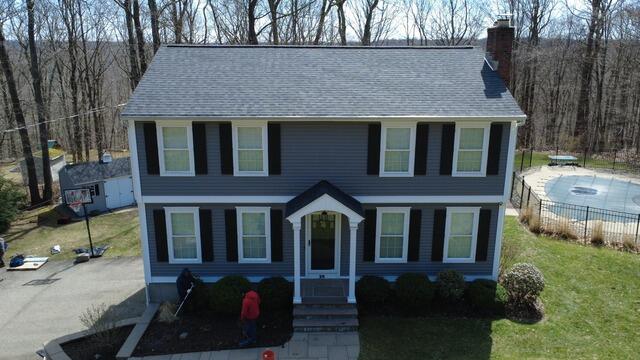
The Finished Look
With a few final touches, Chris's new roof is complete and ready to stand strong for years to come!

