
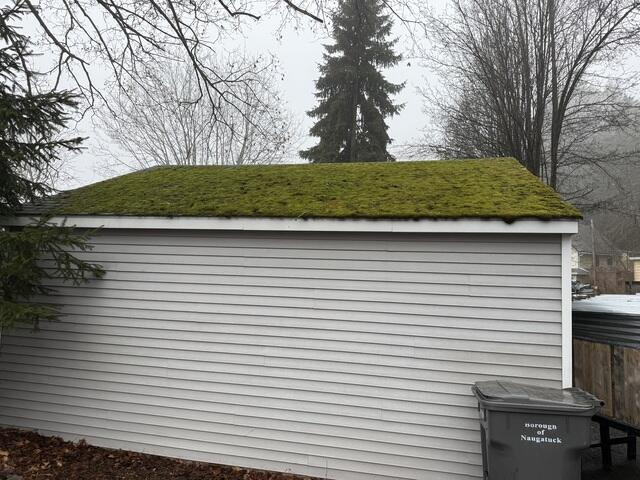
Mossy Mania
Here's what Terri's garage looked like before the transformation - talk about a lot of moss! Click through to see the amazing before-and-after transformation!
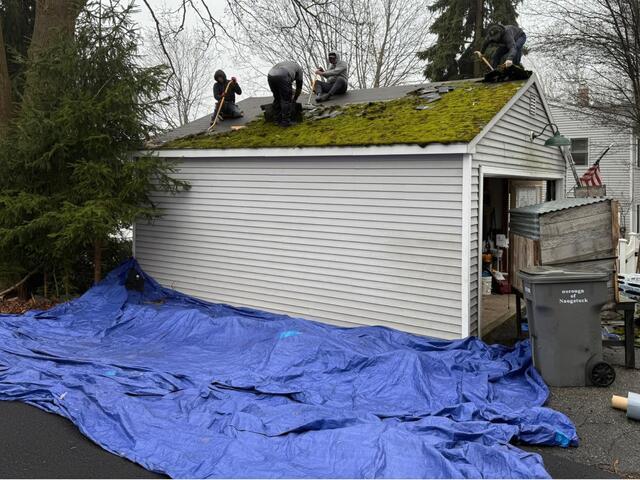
The Teardown Begins
The crew starts things off by tearing off all of the old shingles. Large tarps are laid around the area to ensure an efficient cleanup of debris.
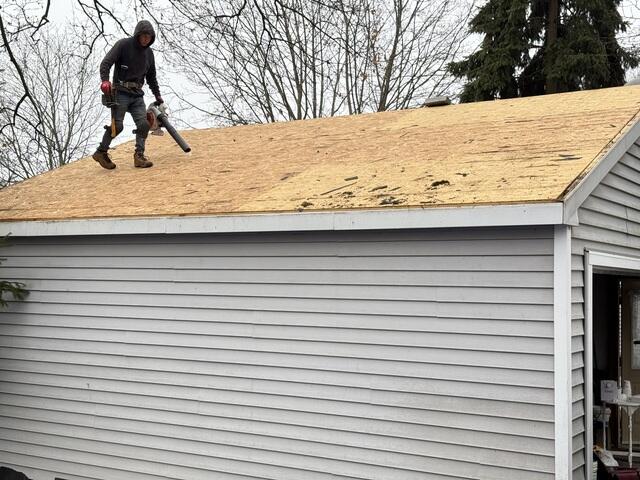
The Decking Is Examined
Beneath the old shingles lies the roof decking - a sturdy plywood layer that forms the structural foundation of the roof. Even after supporting all those mossy shingles, the decking is still in stellar shape, making it perfectly ready for a fresh new layer of shingles!

Seams Are Taped & Underlayment Is Installed
Before the new shingles go on, the crew takes extra steps to reinforce the decking for long-term durability. They start by sealing all the plywood seams with all-weather Sealoron XT deck tape, adding an extra layer of protection. Then, they cover the entire surface with a high-quality underlayment: a thin, waterproof membrane designed to shield the decking from harsh elements like rain, wind, snow, and ice.
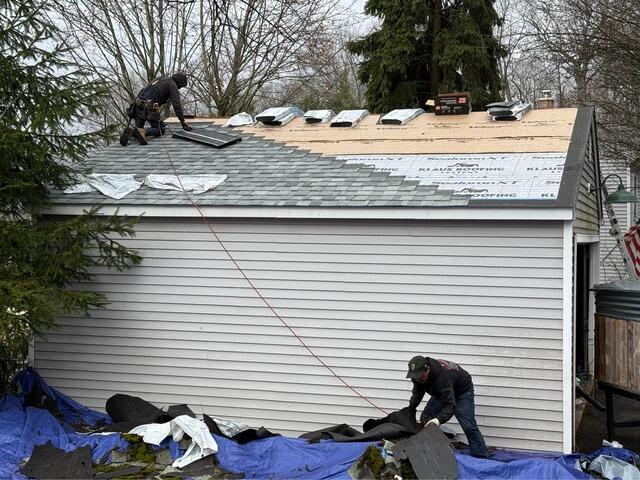
New Shingles Are Installed
Gorgeous new IKO Dynasty shingles are expertly installed in a seamless staircase pattern, ensuring both durability and a polished look. For her new roof, Terri has chosen the sleek shade of Frostone Gray.
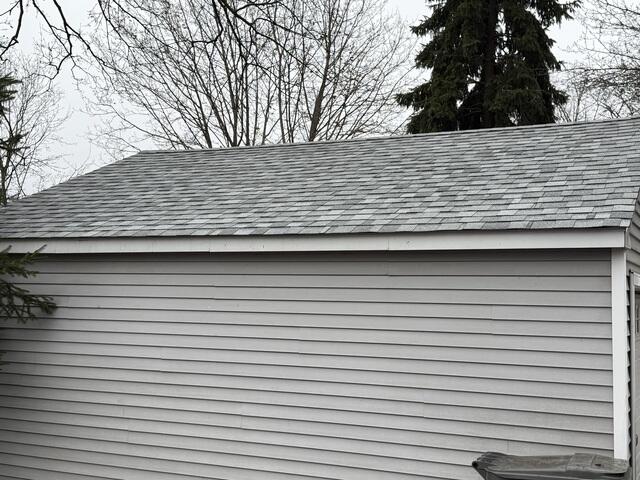
The Finished Look
Once all the shingles are securely in place, the crew adds a ridge cap along the peak, providing extra protection and a crisp, well-defined look. With that final touch, Terri's new garage roof is complete!