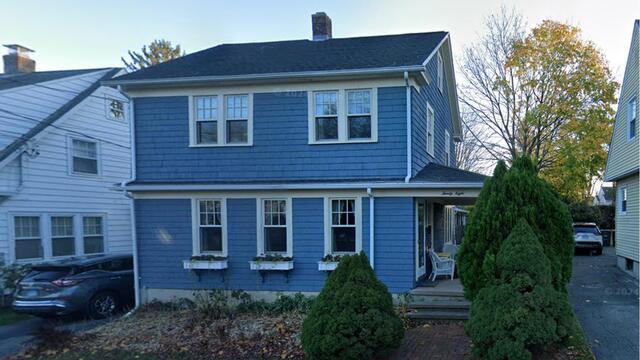
The Roof Before
Here's what Anthony's roof looked like before the makeover. Click through to see the awesome transformation!
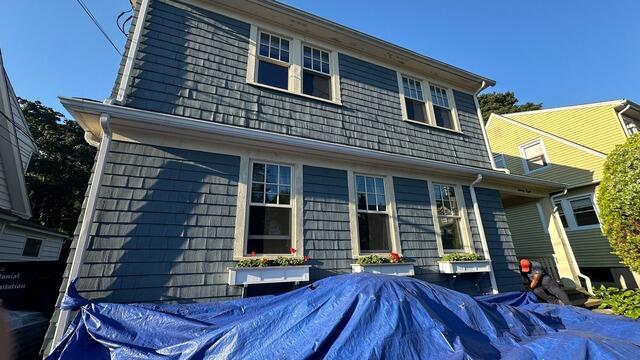
Protecting the Property
Before the teardown begins, the crew lays out large tarps over the house and surrounding landscape to ensure the homeowner's property is fully protected from falling debris. These tarps also help speed up the cleanup process, making everything more efficient.
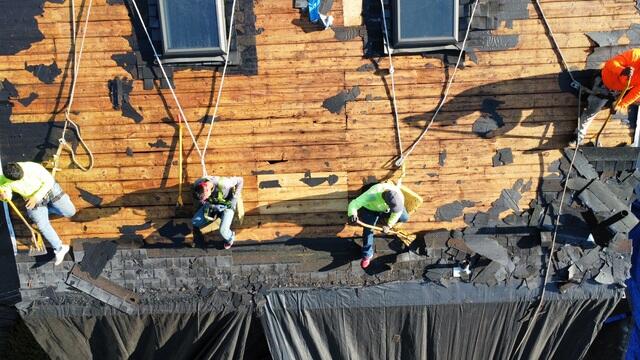
The Old Shingles Come Off
The crew carefully tears the old shingles off, revealing the plywood layer underneath. This layer is called the roof sheathing, and it is the structural foundation of the roof.
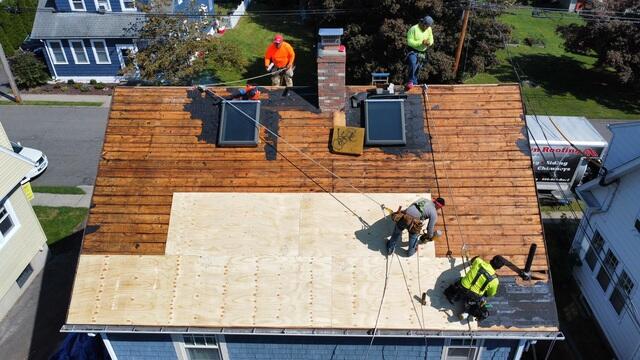
New Plywood Is Installed
To create a safe and solid foundation for the new shingles, the crew installs durable 1/2" CDX plywood over the old sheathing, reinforcing the roof structure for added strength.
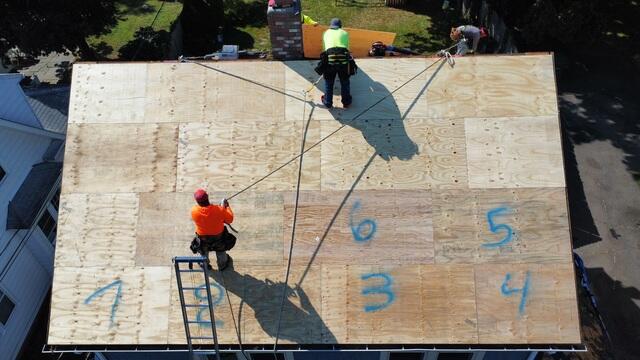
Decking Is Secured
Each sheet of plywood is carefully measured, cut, and fitted to ensure a perfect fit onto the roof's framework. To keep everything organized, each sheet is numbered for easy tracking, allowing the crew to accurately report how many sheets were used during the installation.
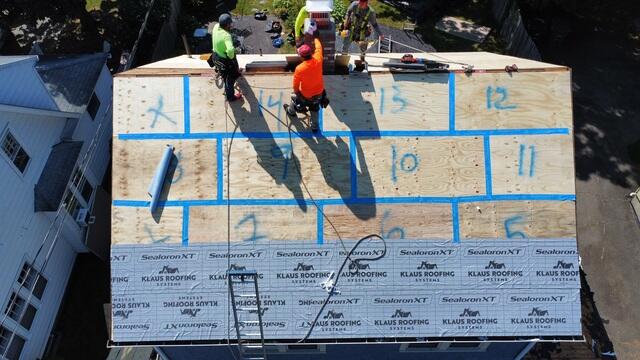
Seams Are Taped & Underlayment Is Installed
Once the new sheathing is securely nailed into place, the seams of the sheets are reinforced with all-weather deck tape for extra durability. Then, a layer of underlayment is installed over the entire surface. This water-resistant barrier protects the sheathing from the harsh elements, like wind, rain, snow, and ice, ensuring the roof stays strong and secure.
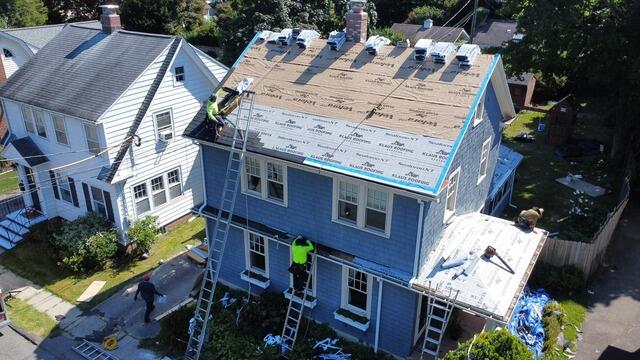
New Shingles Are Installed
Next up, it's time to install the new IKO Dynasty shingles! These premium-laminated, architectural shingles are not only built to last but also add stunning curb appeal. Anthony has chosen the sleek shade of Granite Black to perfectly complement his home.
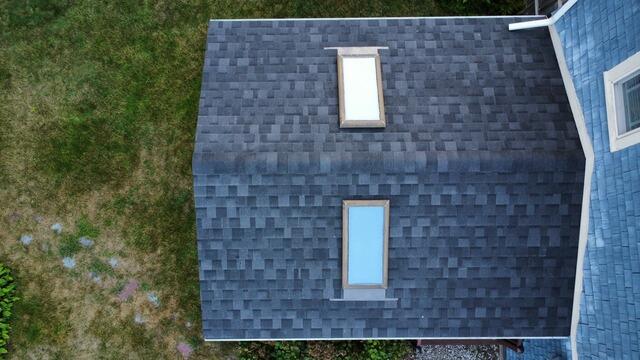
New Skylights Installed
Brand-new VELUX skylights are installed in place of Anthony's old ones, bringing in a touch of modern style.
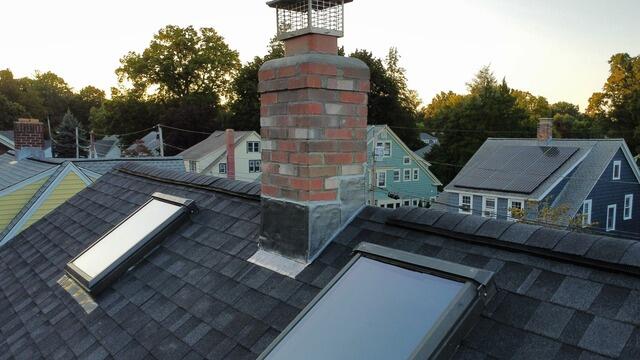
New Flashing on the Chimney
The chimney is flashed with durable metal at the junction where it meets the roof. This ensures a watertight seal, protecting the area from potential moisture intrusion.
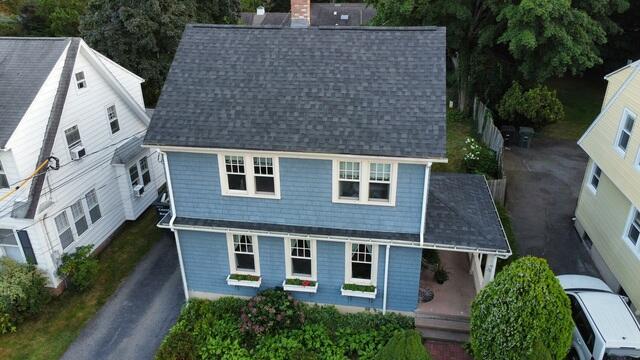
The Roof After
After a few final touches, including the installation of a ridge vent for optimal airflow and securing flashing around all pipes, Anthony's stunning new roof is complete and ready to stand strong for years to come!

