
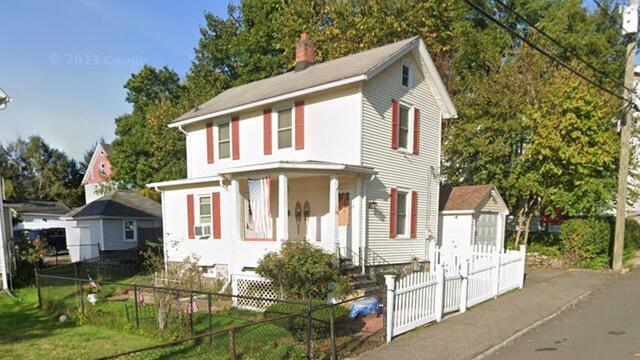
The Roof Before
Here's what Kenneth's roof looked like before the renovation. Click through to see how we transformed it!
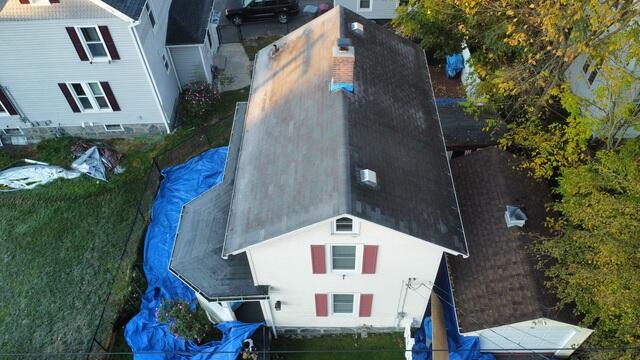
New Chimney & A Better Look
Before diving into the roof, our expert masons have built a beautiful new chimney. From this angle, you can really see how worn and tired the old roof was. Time for a fresh start! Let's get to work!

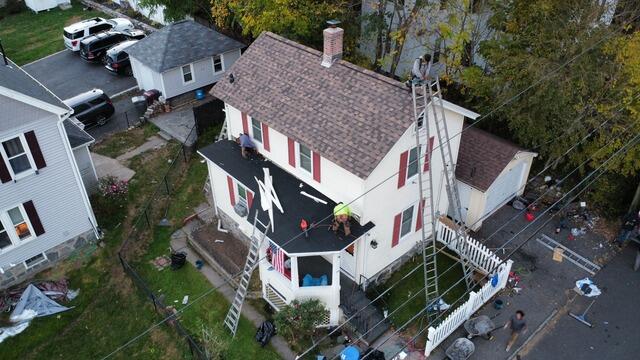
Old Shingles Are Removed
The crew starts by carefully removing all the old shingles, uncovering the solid foundation of the roof. This is called the sheathing.
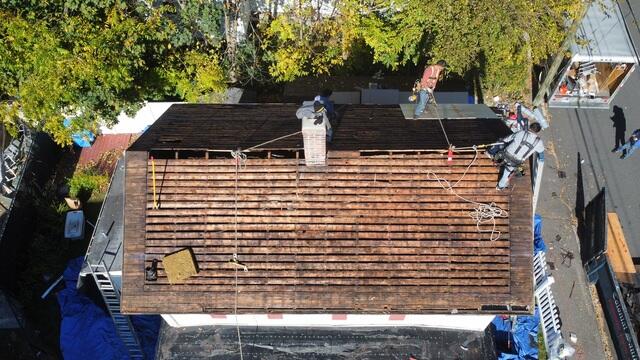
Skip Sheathing
Kenneth's roof had skip sheathing, which works well for lighter three-tab shingles but isn't strong enough to support the heavier architectural shingles that are about to be installed.
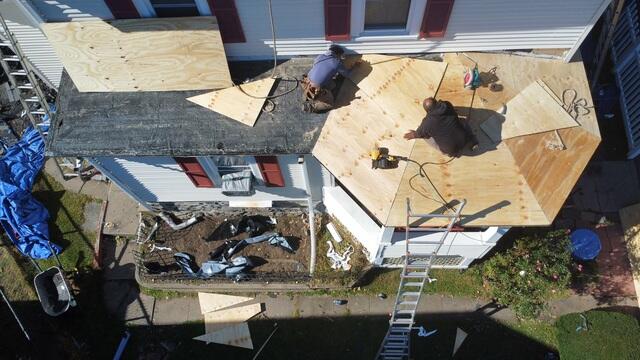
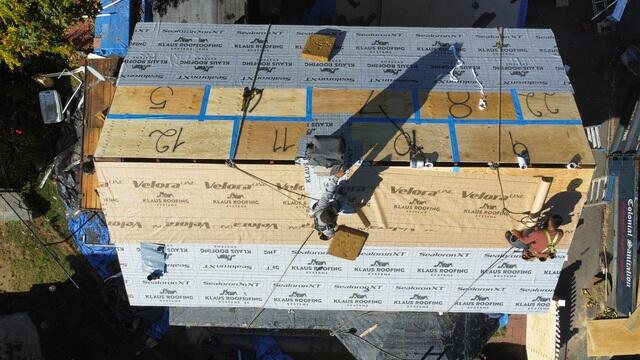
New Plywood Is Installed
To reinforce the roof for the new shingles, the crew installs brand-new 1/2" CDX plywood over the old sheathing. Each sheet is carefully measured and cut, if needed, to fit perfectly into place.
Seams Are Taped & Underlayment Is Installed
With the new sheathing securely in place, the seams of each plywood sheet are sealed with all-weather deck tape. Next, a layer of underlayment is installed over the entire surface, providing a waterproof barrier that protects the sheathing from harsh elements like rain, wind, snow, and ice.
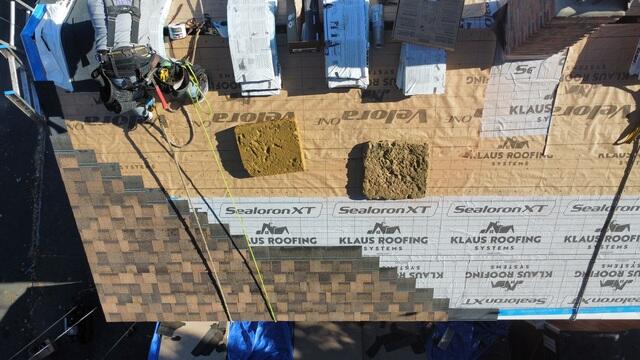
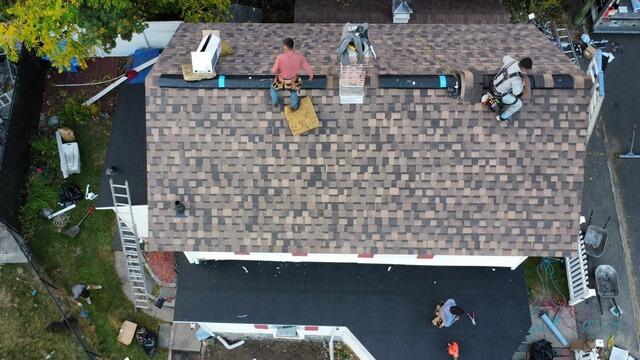
New Shingles Are Installed
Now it's time to start installing the premium-laminated IKO Dynasty shingles! These top-tier architectural shingles come in a range of stunning shades, and Kenneth has chosen the beautiful Brownstone color to perfectly complement his home.
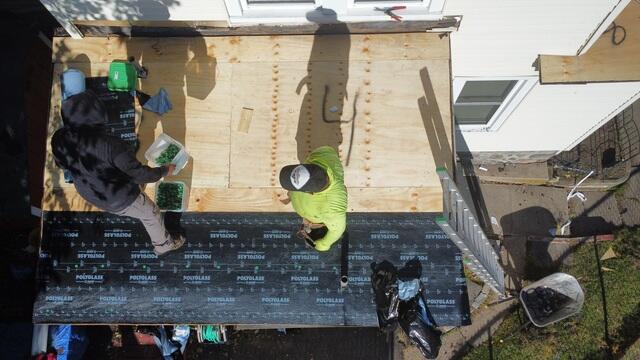
SBS Roof Base Is Installed
This section of Kenneth's roof is flat, and due to current building codes, shingles can't be used here because of potential drainage issues. Instead, we install a specialized SBS (styrene-butadiene-styrene) roofing system, which consists of two layers. The first layer, the base, serves as the underlayment, providing a strong and waterproof foundation.
Cap Is Installed
The top layer, known as the cap, is carefully laid out and then securely adhered to the base using a seam roller and blowtorch.
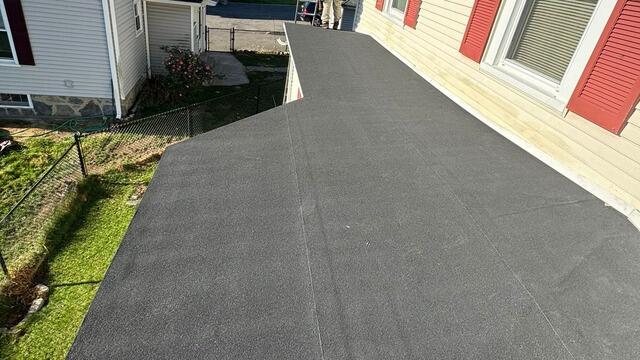
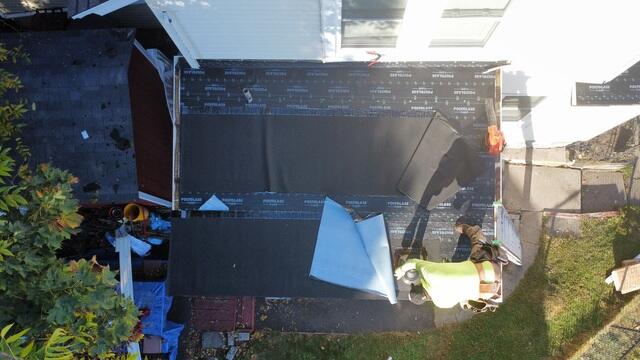
SBS Roof Is Finished
The SBS roof is now complete, offering a strong, watertight bond that ensures durability and long-lasting protection against the elements.
Ridge Vent Is Installed
A shingle vent is installed along the ridge of the roof to promote proper airflow, allowing hot, moist air to escape and preventing harmful condensation buildup.
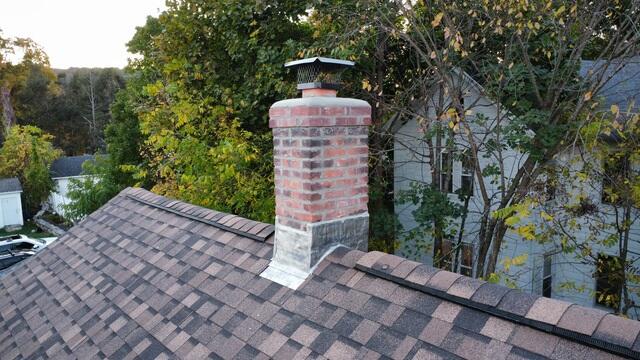
New Flashing on the Chimney
Kenneth's new chimney is sealed with secure metal flashing where it meets the roof, creating a watertight barrier that prevents moisture from entering the junction.
The Roof After
Everybody off the roof! The Project Manager didn't manage to snap any photos of the finished product, but this shot is close enough. After a few final touches, Kenneth's new roof is officially complete!