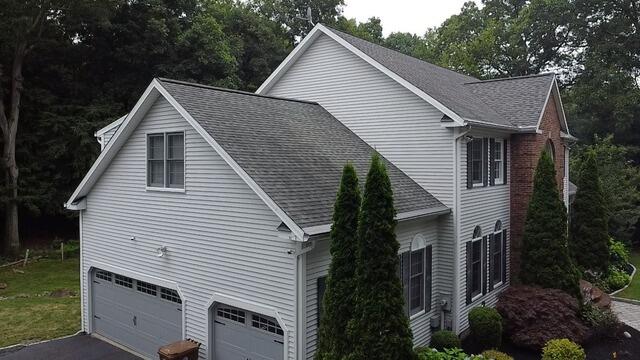
Before: Southeast View
Click through to see how we transformed John's roof!
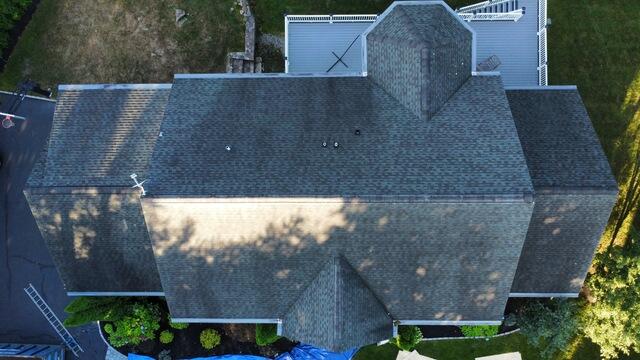
Before: Aerial View
This bird's-eye view gives a better view of the discoloration and damage to the shingles caused by moisture and subsequent algae growth. Let's get this new roof started!
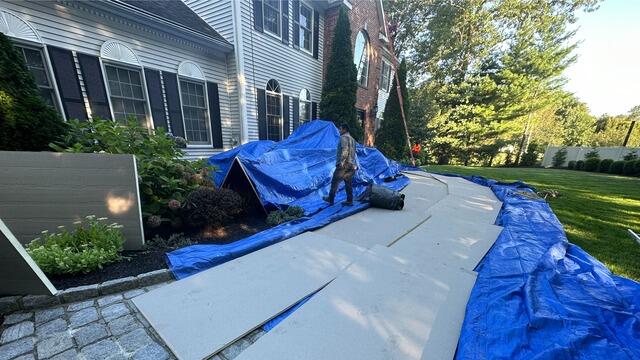
Protecting the Property
The crew starts things off by laying down large tarps and foam board to ensure that the homeowner's property is as thoroughly protected as possible.
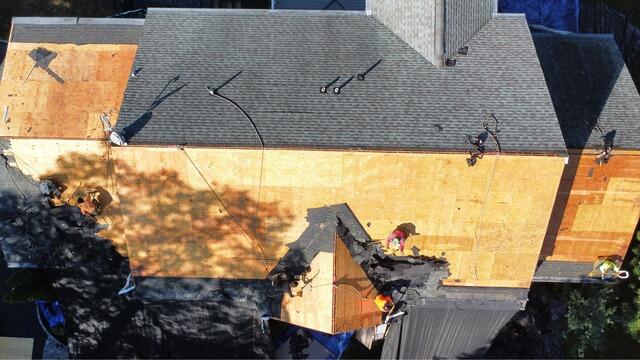
Stripping Off the Shingles
The teardown begins as the crew gets to work stripping off the old shingles. This reveals the layer of plywood underneath, which is called the roof decking.
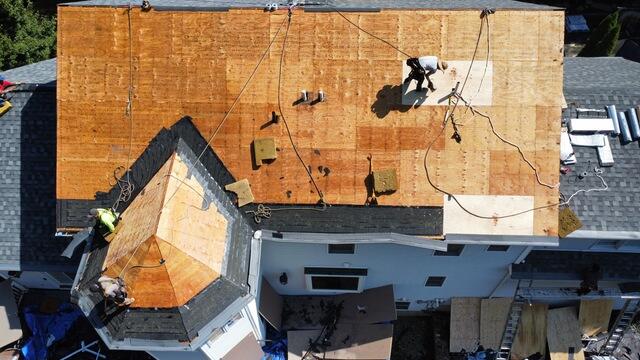
New Plywood Is Installed
As the structural foundation of the roof, it's important that the decking has no decay, rot, mold, or any other signs of damage. Any affected parts are removed and replaced with brand-new sturdy 1/2" CDX plywood.
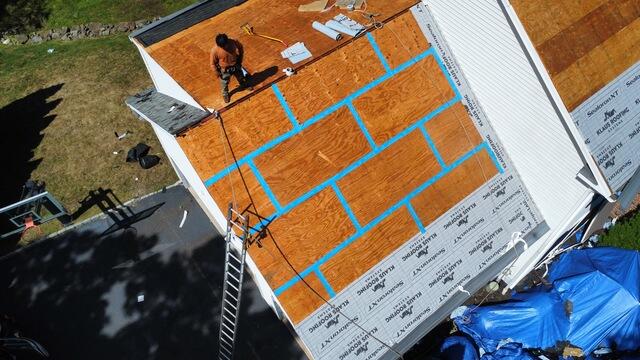
Seams Are Taped & Underlayment Is Installed
The seams of each plywood sheet are taped up with all-weather Sealoron XT deck tape as an added layer of reinforcement. Next, underlayment is installed over the entire surface. This thin, water-resistant material protects the decking from harsh conditions like rain, wind, snow, or ice.
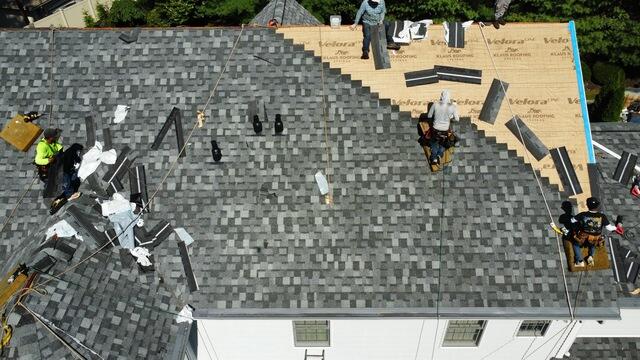
New Shingles Go On
With the underlayment fully in place, it's time to start installing the new IKO Dynasty premium-laminated shingles! For his new roof, John has selected the sleek shade of Summit Gray.
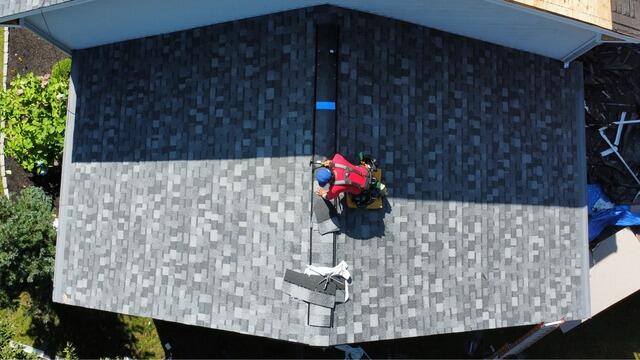
Ridge Vent Is Installed
A shingle vent is installed along all of the ridges of the roof. This vent promotes healthy airflow by allowing hot, humid air that rises in the house to escape, reducing harmful moisture buildup.
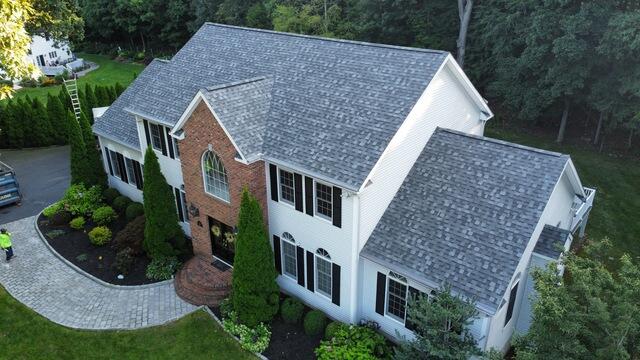
After: Northeast View
After a few finishing touches, John's new roof is complete and looking great!
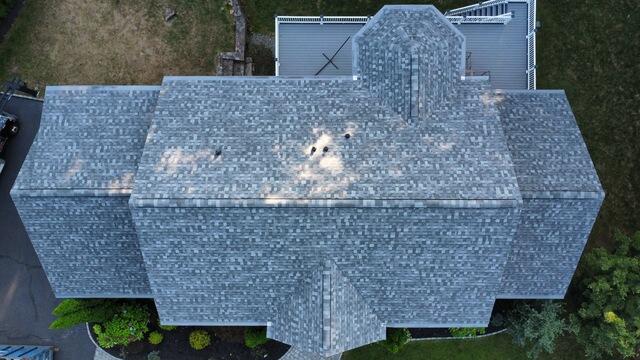
After: Aerial View
This aerial shot shows just how dramatic the transformation is - no more algae, just a strong, beautiful roof that's built to last!

