
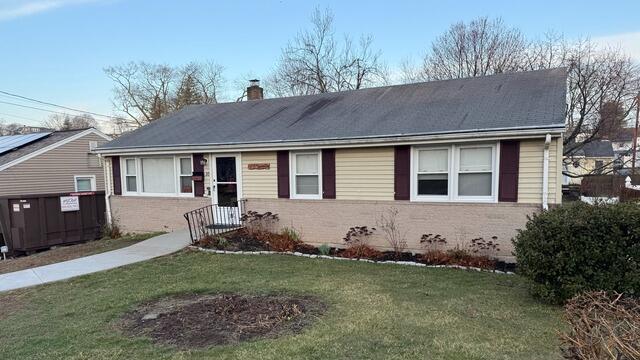
The Roof Before
Here's what John's roof looked like before the renovation. Those discolored three-tab shingles have got to go! Click through to see the awesome transformation.
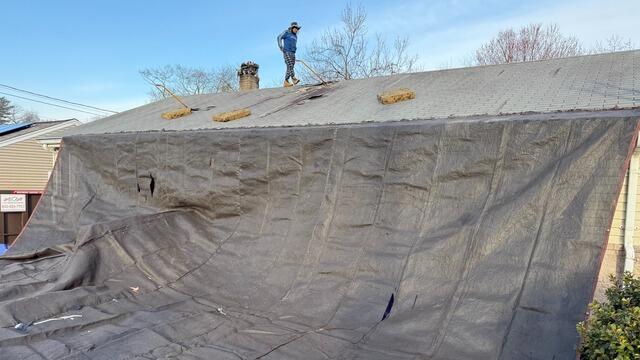
Prepping the Property
Before the crew starts stripping off the old shingles, large, heavy-duty tarps are hung up across the house and draped along the lawn to fully protect them from falling debris. This also helps makes the cleanup process more efficient.
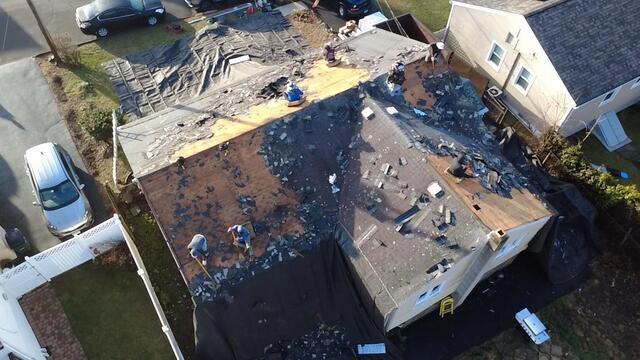
Old Shingles Are Removed
With the property protected, it's time to begin the teardown. Underneath the old shingles is a plywood layer called the roof decking.
Bad Plywood Is Removed
As the structural foundation of the roof, it's important for the entire decking to be free of rot, decay, mold, or any other damage. Any affected areas need to be removed.
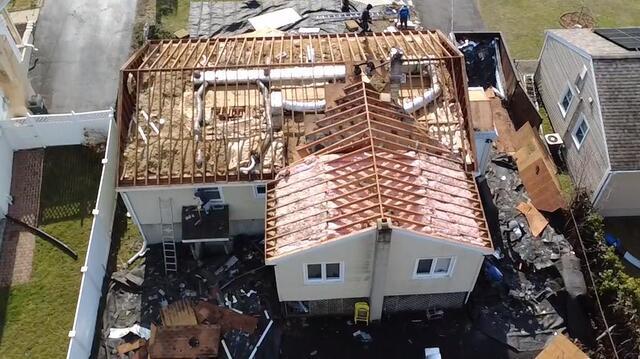
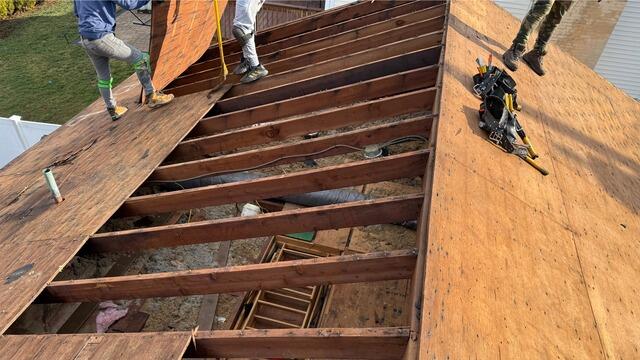
All of the Decking Removed
Our experts found that the entire decking needed to be replaced. After receiving the go-ahead from John, the crew got to work removing all the old plywood from the rafters and creating a clean slate for a solid new foundation.
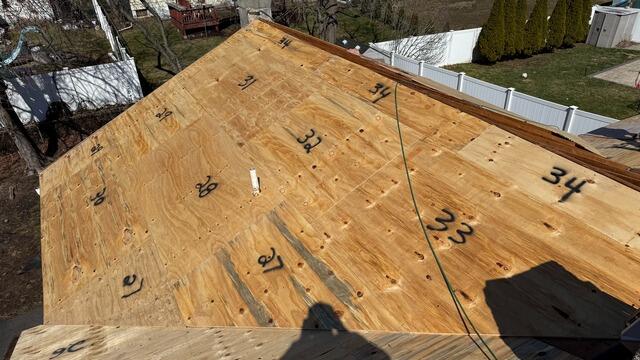
New Plywood Is Installed
Sturdy new 1/2" CDX plywood is precisely fit and nailed into place to create an all new decking. Each sheet of plywood is numbered for easy tracking so that the crew can accurately report to the homeowner how many sheets were used.
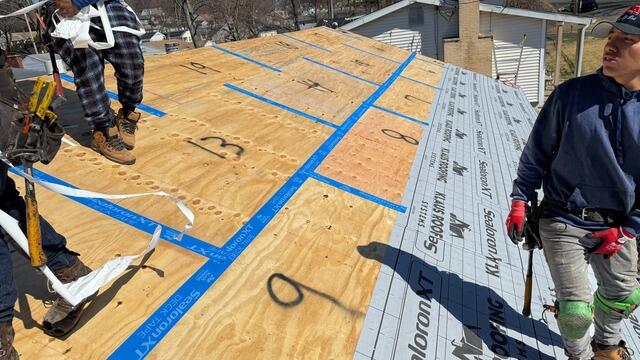
Seams Are Taped & Underlayment Is Installed
As an added measure of reinforcement, all of the seams of the plywood sheets are taped with all-weather Sealoron XT deck tape. Then, a layer of underlayment is installed over the entire surface. This thin, water-resistant barrier protects the decking from brutal elements like rain, wind, snow, and ice.
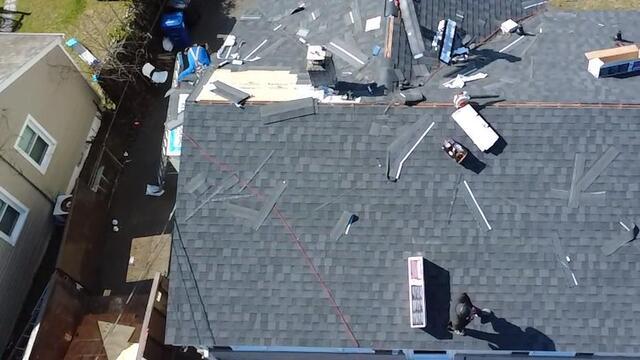
New Shingles Are Installed
Now it's finally time to start installing the new IKO Dynasty shingles! These premium-laminated architectural shingles come in a variety of shades, and John has chosen the beautiful Granite Black for his new roof.
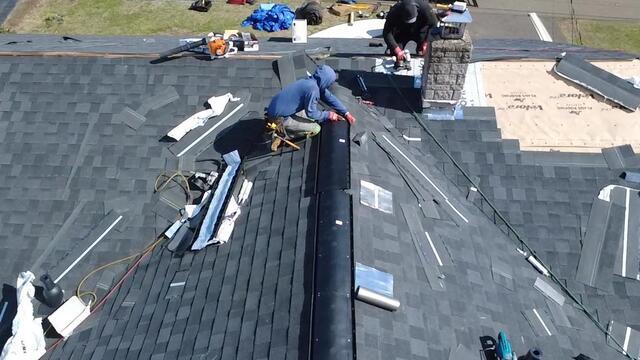
Ridge Vent Is Installed
A shingle vent is installed along the ridges of the roof. This vent promotes proper airflow, allowing hot, moist air rising from inside of the house to escape, combatting damaging moisture buildup.
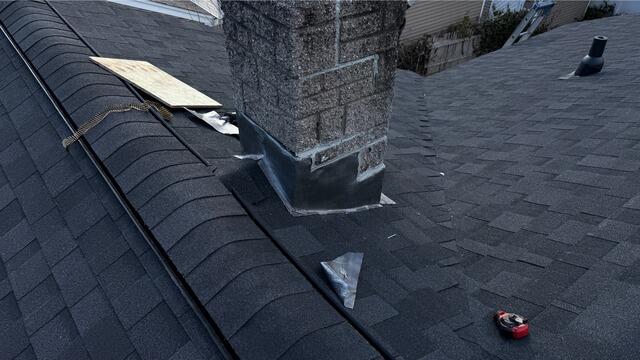
Chimney Is Flashed
New flashing in the form of a thin metal is adhered to the sides of the chimney where it meets the roof. This barrier prevents water from seeping into an otherwise vulnerable junction.
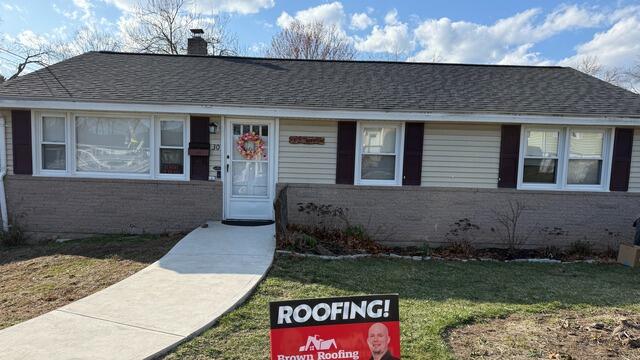
The Roof After
After a few finishing touches and a thorough cleanup of the entire property, the new roof is complete!