
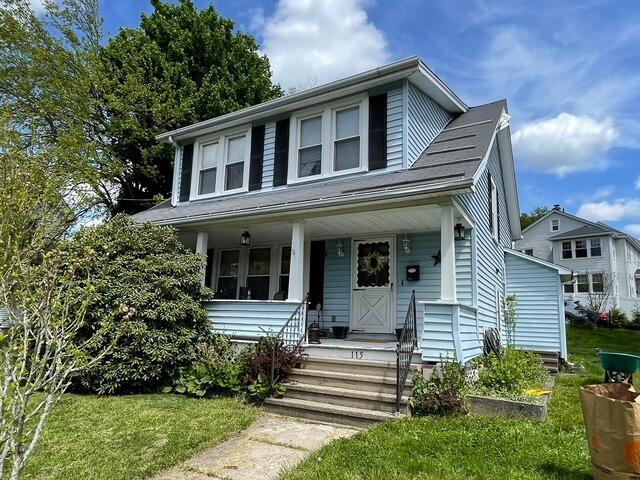
The Roof Before
Here's what Valeria's roof looked like before the renovation. Click through to see what it looks like now!
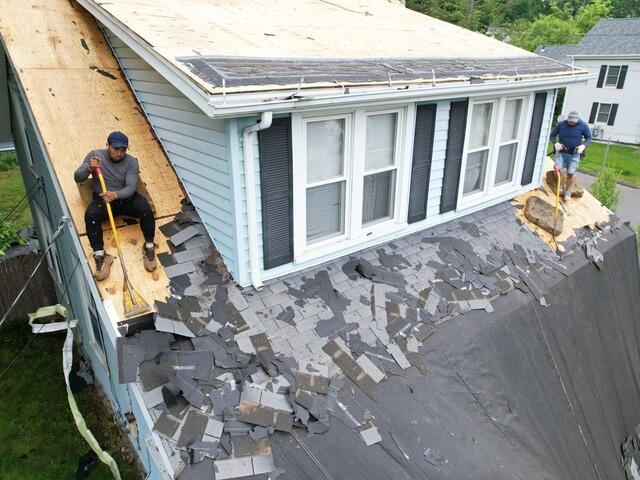
Old Shingles Are Removed
The first step is to remove all of the old shingles. This reveals the plywood layer underneath, which is called the roof sheathing.
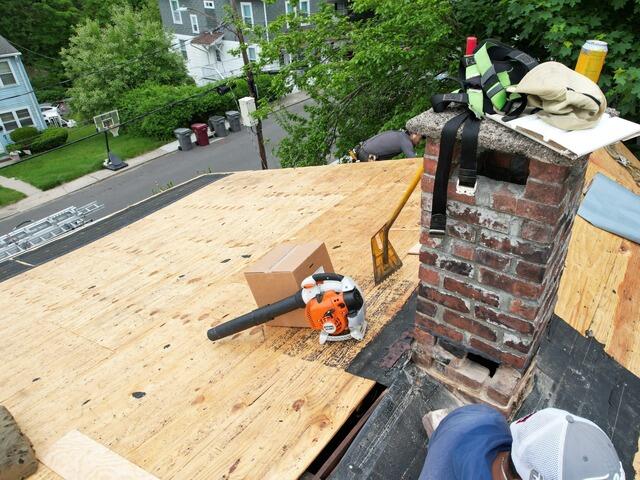
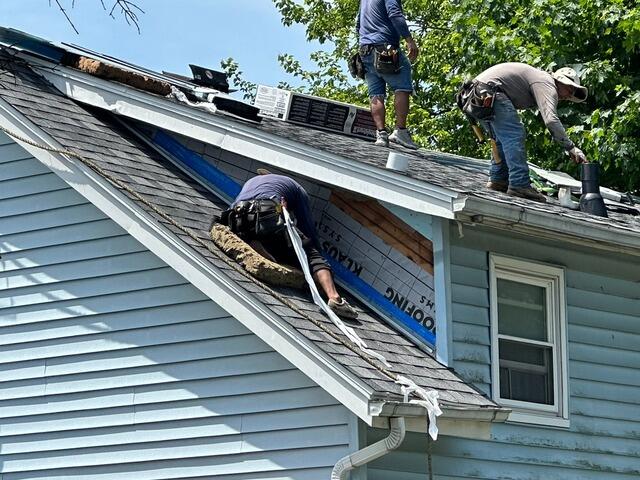
Sheathing Is Examined & Replaced
As the structural foundation of the roof, it's important for the sheathing to be in peak condition. Any sections found with rot, mold, or other types of damage are promtply removed and replaced with fresh new plywood.
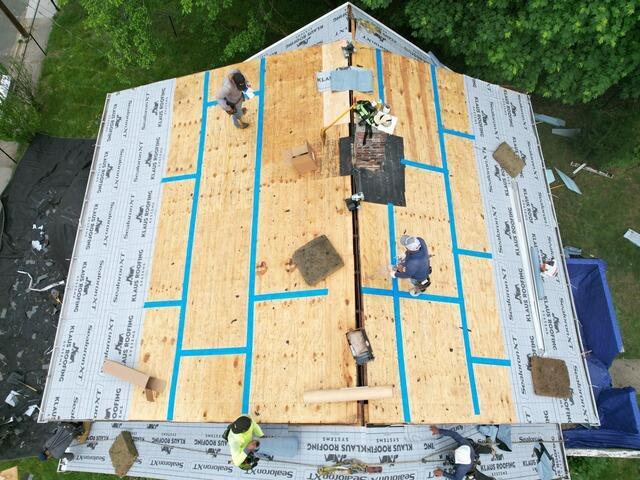
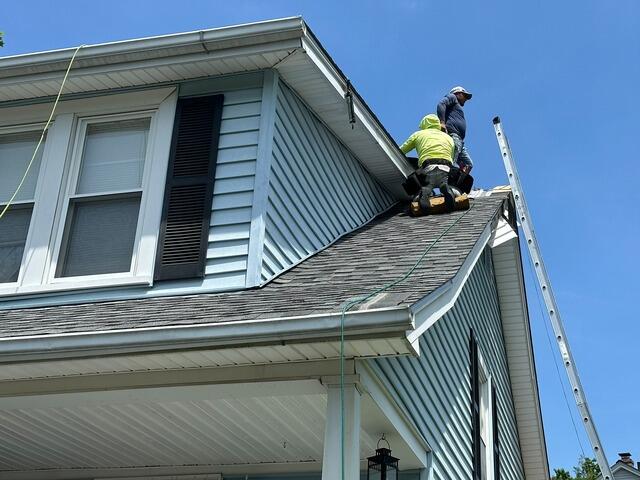
Seams Are Taped & Underlayment Is Installed
With all of the sheathing inspected and ready to go, the crew tapes up the seams of each sheet of plywood with heavy-duty deck tape for extra reinforcement. Then, underlayment is rolled out and installed over the entire surface. This thin, waterproof material protects the sheathing from harsh elements like rain, wind, snow, or ice.
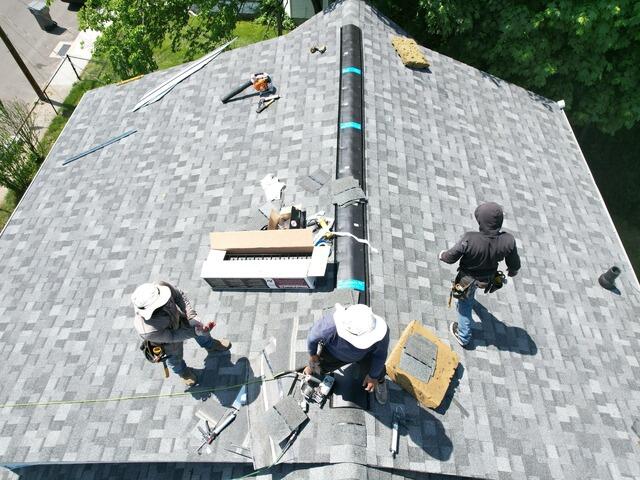
New Shingles Installed
Next, it's time to install the brand-new IKO Dynasty shingles! These shingles are premium-laminated, architectural, and come in a variety of beautiful colors. For her new roof, Valeria has selected the sleek and sophisticated shade of Summit Gray.
Step-Flashing Installed
Step flashing is installed in this key area to keep water out and protect the home from leaks. These bent metal pieces are layered in a step-like pattern where the roof meets a wall, ensuring that water is directed safely away from the structure.
Ridge Vent Is Installed
A shingle vent is installed along the ridge of the roof. This vent ensures superior airflow, allowing hot, moist air rising inside of the house a way to escape, preventing damaging condensation buildup.
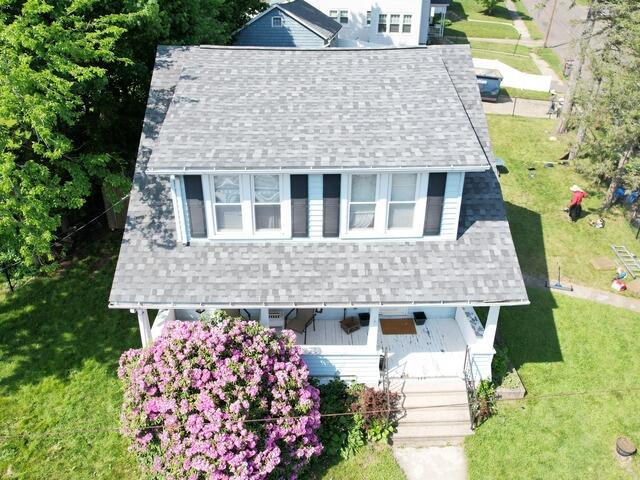
The Roof After
After a few final touches and an in-depth cleanup of the entire property, Valeria's new roof is complete and looking better than ever!