
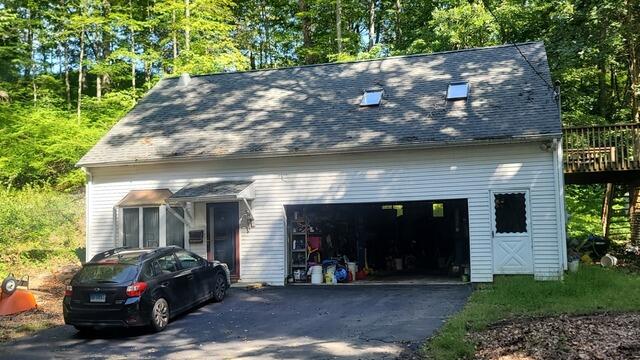
The Roof Before
Here's what the roof looked like before the transformation - definitely seen better days after years of rough weather. Click through to see the amazing makeover!
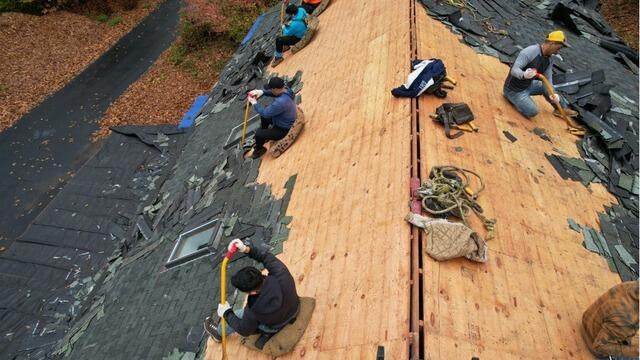
Old Shingles Are Removed
The crew kicks things off by carefully stripping off the old shingles. This reveals the layer of plywood underneath, which is called the roof sheathing.
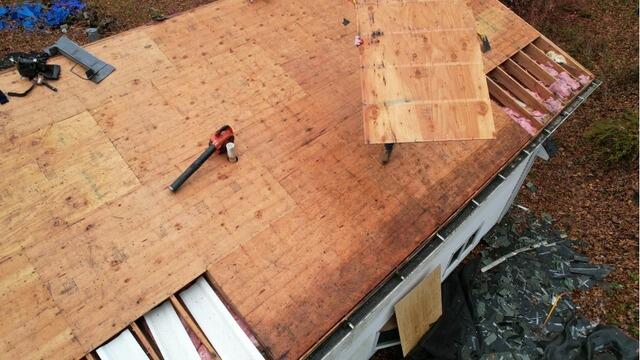
Bad Plywood Is Removed
As the structural foundation of the roof, the sheathing needs to be in tip-top shape. Any parts that are found with damage like rot or mold - such as this sheet here - are promptly removed and replaced with brand-new sturdy CDX plywood.
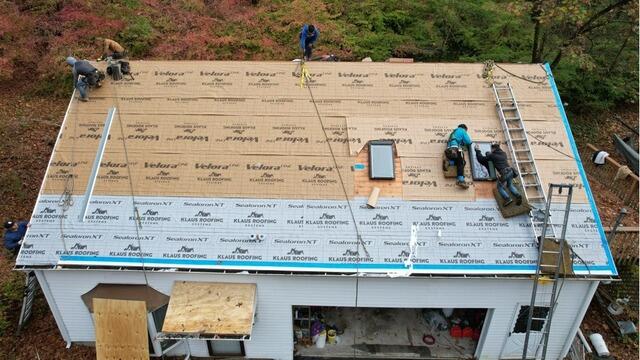
Underlayment Is Installed
Next, a layer of underlayment is installed over the entire surface. This thin, waterproof membrane protects the sheathing from harsh elements like rain, wind, snow, or ice.
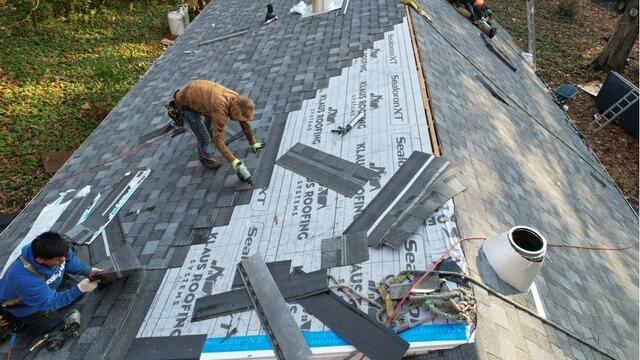
New Shingles Are Installed
Now, it's finally time to start installing the new shingles! Brown Roofing stands by the superior quality of IKO Dynasty premium-laminated architectural. These shingles come in a variety of colors. Dorothy and Cliff have chosen the sleek shade of Summit Gray for their new roof.
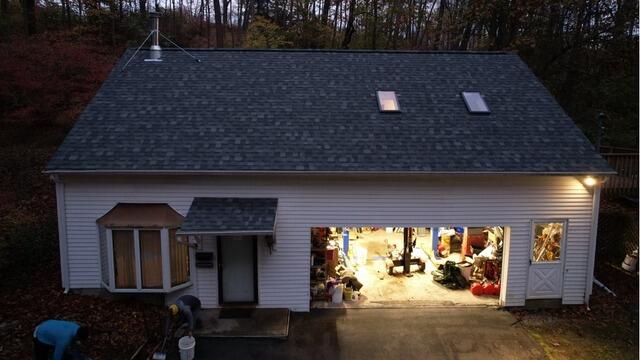
The Roof After
After a couple finishing touches like securing the flashing around the base of the pipes and installing a ridge vent for proper airflow, Dorothy and Cliff's new roof is complete!