
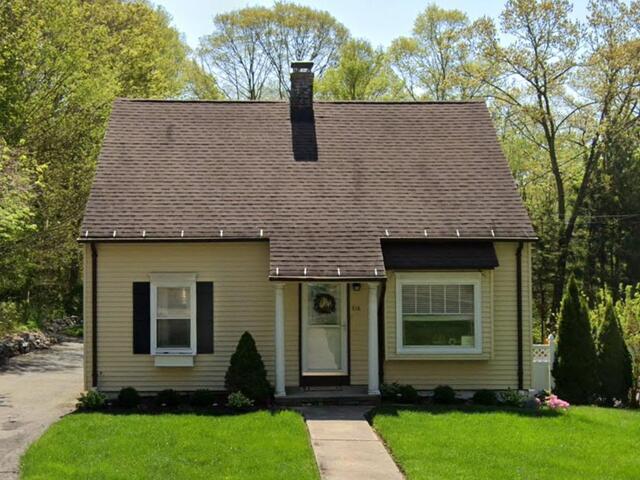
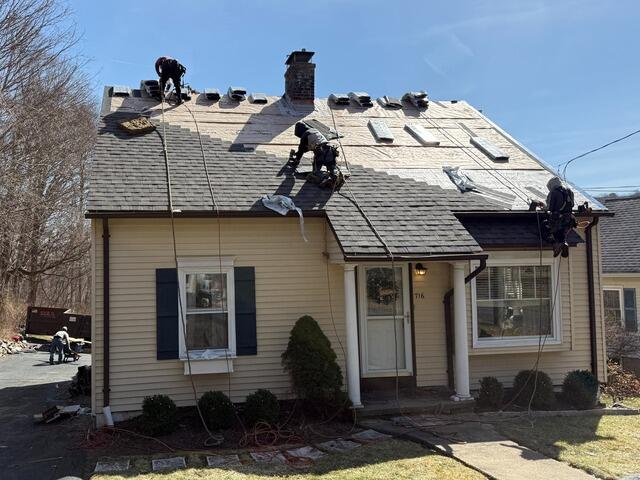
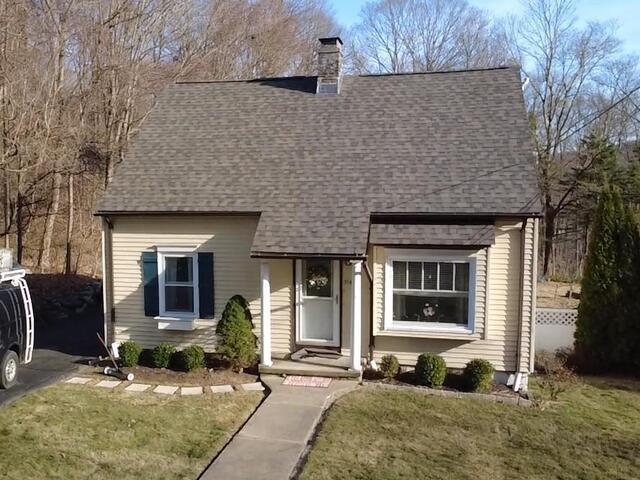
The Old Roof
Here's a look at Danielle's roof before the transformation. You can clearly see how much wear and tear it had taken over time. Click through to see the stunning new roof we installed for her!
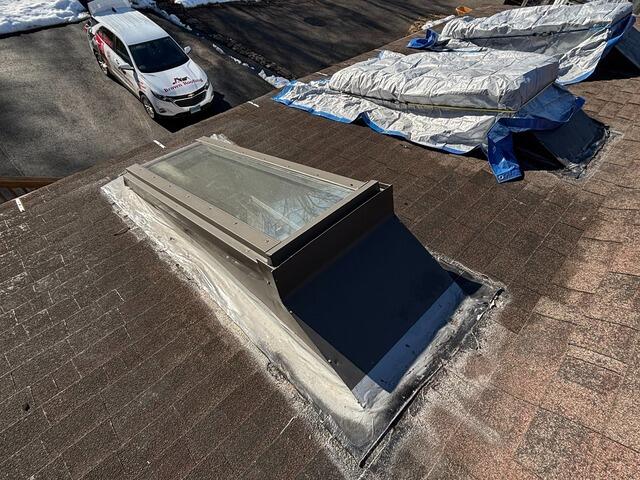
The Old Skylights
In addition, Danielle had 3 skylights on the back side of her roof. As you can see, they are not in the best shape. Let's get those taken care of!
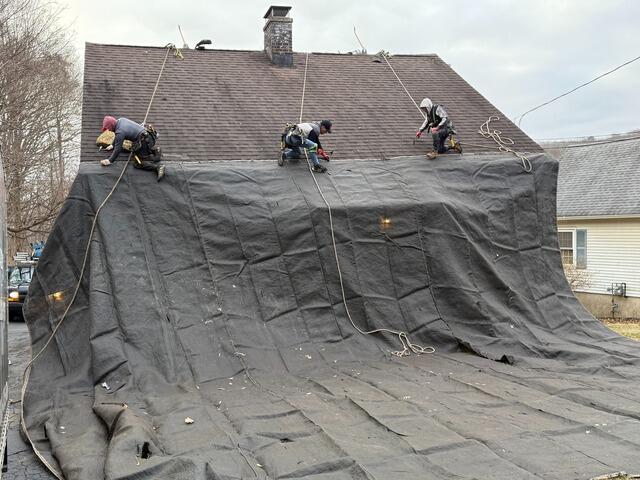
Tarps for Protection
Before starting the renovation, the crew carefully secures large tarps along the edges of the roof to protect the homeowner's property from any falling debris. This also helps make the cleanup process faster and more efficient.
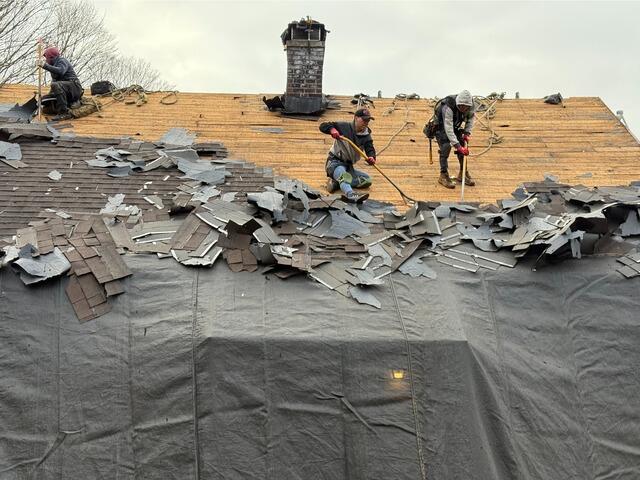
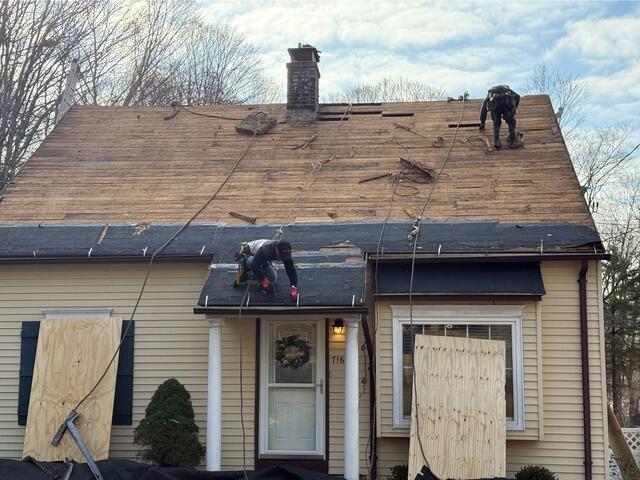
The Old Shingles Come Off
The crew carefully tears off all of the old shingles. This reveals the plywood foundation underneath, which is known as the roof decking.
The Decking Is Examined
5

New Plywood Is Installed
Danielle's house has plank decking, composed of multiple small wooden boards. The crew carefully removes any damaged, decaying, or moldy sections and replaces them with precisely measured and cut CDX plywood to ensure a solid and secure foundation for the new roof.
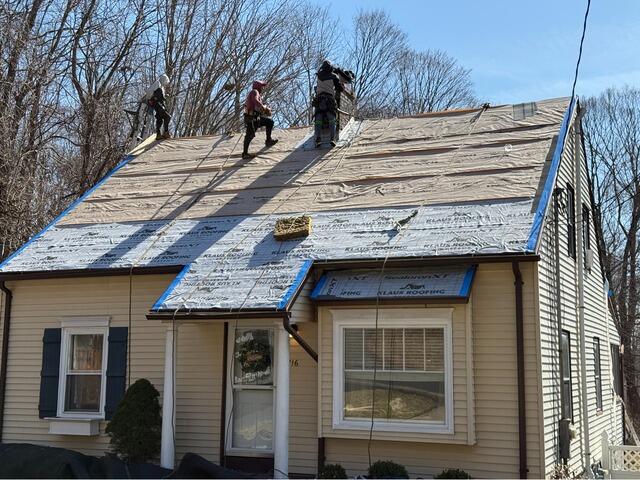
Underlayment Is Installed
Protective underlayment is installed over the entire surface. This thin, waterproof membrane shields the decking from harsh elements like wind, rain, snow, or ice.
The New Shingles Go On
With all of the underlayment securely in place, it's time for the crew to start installing the new IKO Dynasty shingles! Renowned for their durability and style, these architectural shingles are a Brown Roofing signature choice. Danielle has selected the beautiful shade of Driftshake for her new roof.
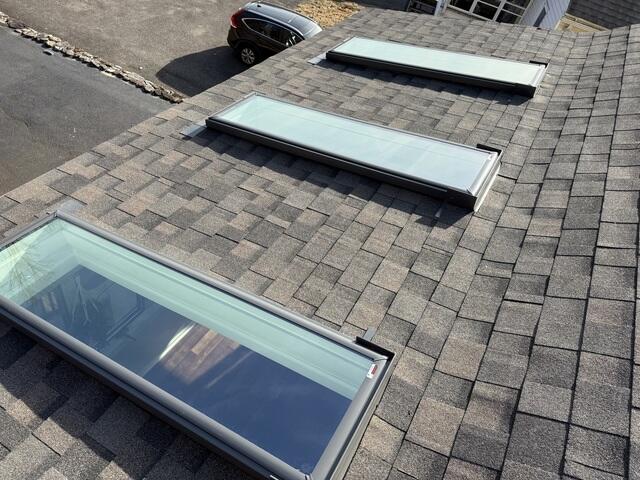
The New Skylights
Danielle's skylights have been upgraded to sleek, modern VELUX skylights, adding style (and eliminating leaks!) to her newly transformed roof.
The New Roof
After a couple of final touches and a thorough double-check of the entire process, the new roof is complete!