
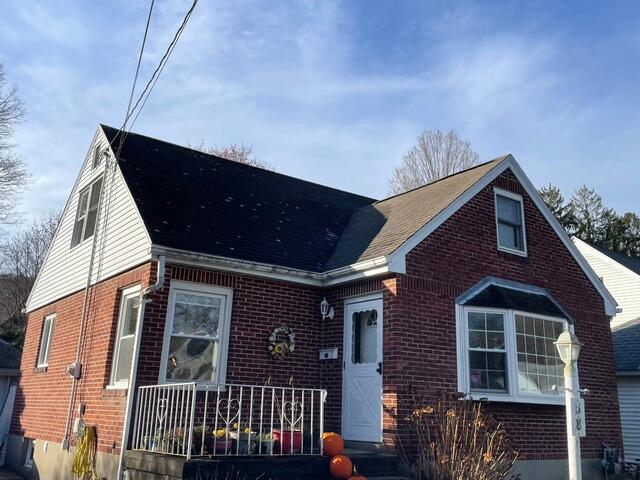
The Roof Before
Here's a look at Tom's roof before. Even from a distance, you can spot numerous white patches-those are signs of lichen, an algae-like plant that thrives in moisture and quickly deteriorates shingles. It's definitely time for a new roof!
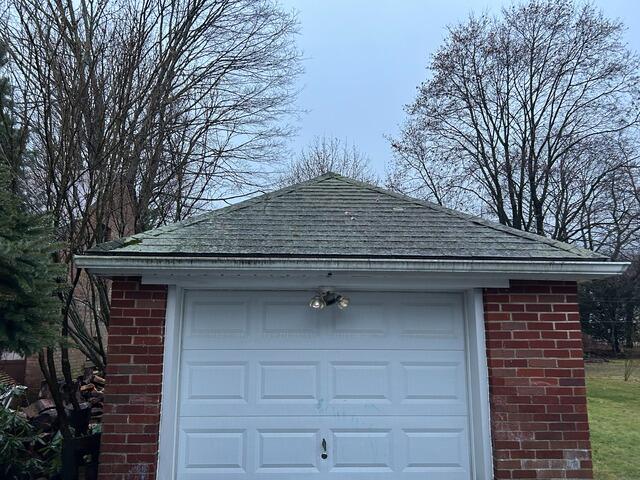
Before: Shed
The roof on Tom's shed has even more lichen growth than his house. Time to get to work and tackle this!
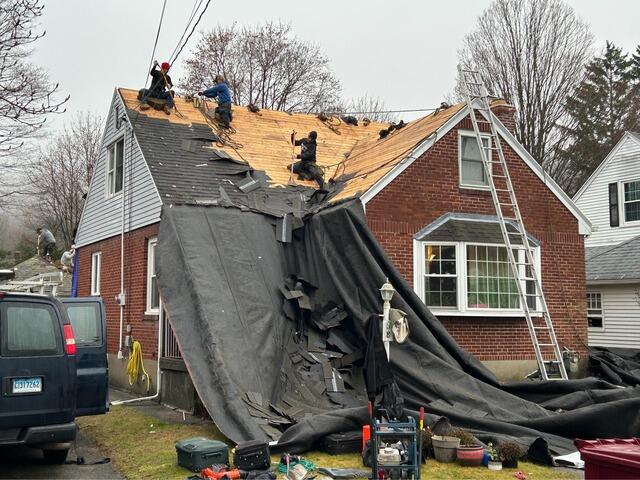
Old Shingles Stripped
The crew begins the renovation by removing the old shingles, exposing the plywood underneath, known as the roof sheathing. As the structural foundation of the roof, the sheathing must be in excellent condition. Once the shingles are off, the crew will carefully inspect the sheathing for any signs of damage, such as rot or mold.
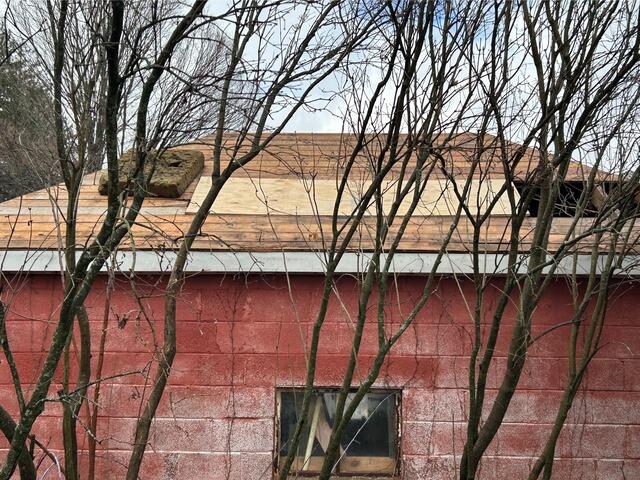
Bad Plywood Removed & Replaced
Any damaged sections of the sheathing are replaced with fresh plywood, as shown here on the shed.
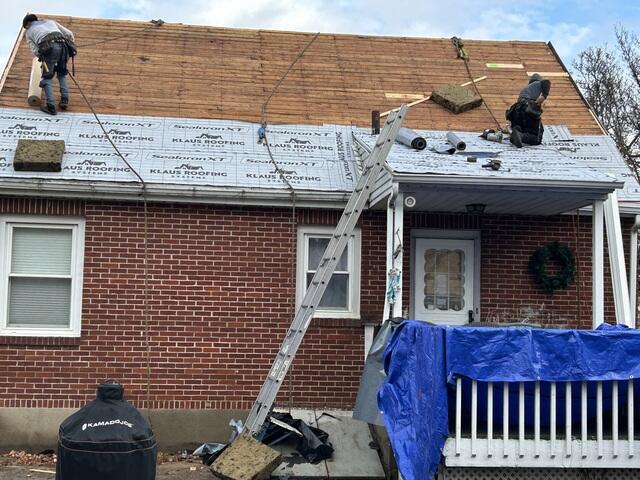
Underlayment Is Installed
Next, a layer of underlayment is applied over the entire sheathing. This thin, protective barrier shields the sheathing from harsh elements like rain, snow, and ice.
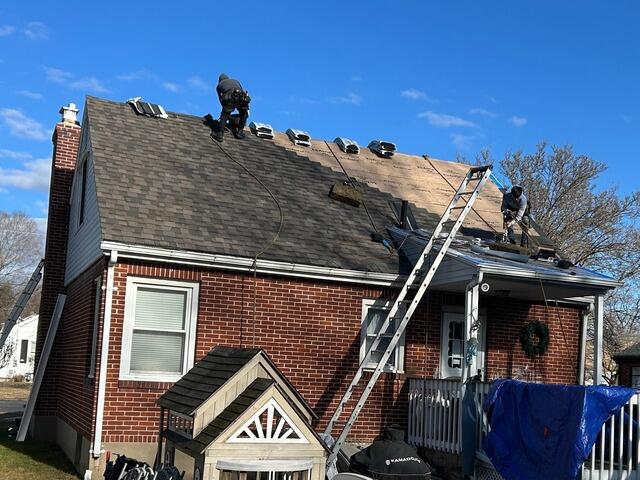
Time For New Shingles
Next, the most exciting part: installing the new shingles! Brown Roofing proudly uses IKO Dynasty premium-laminated shingles, renowned for their durability and curb appeal. Available in a variety of colors, Tom has chosen the stunning Driftshake for his new roof.
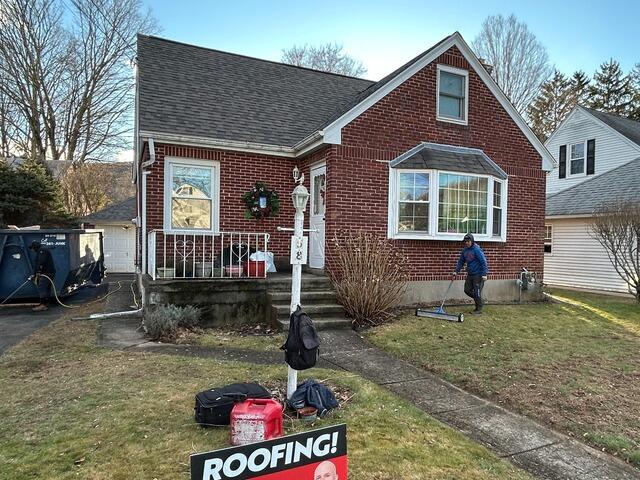
The Finished Product
After a few finishing touches, including installing flashing around the chimney and roof pipes, as well as adding a ridge vent for proper air ventilation, the new roof is complete!
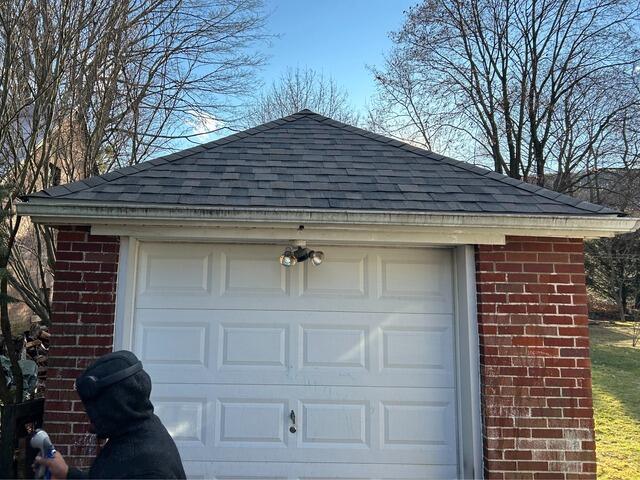
After: Shed
Who could forget the shed? Its roof is now just as beautiful and built to last!