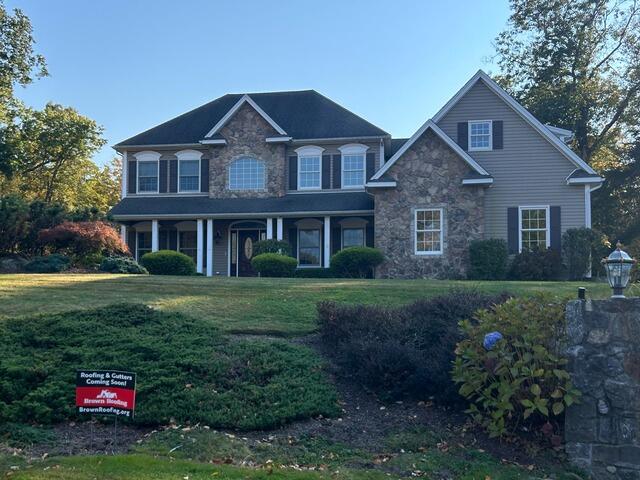
The Roof Before
Here's Chaz's roof before the transformation. Click through to watch the entire process unfold!
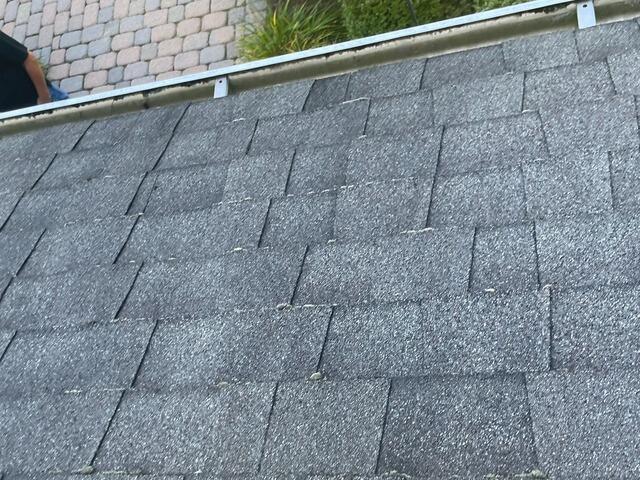
Before: Mossy Shingles
Taking a closer look at Chaz's roof, you can see some moss growth between the shingles. This is due to moisture buildup, which will deteriorate the shingles quickly. It's definitely time for a new roof!
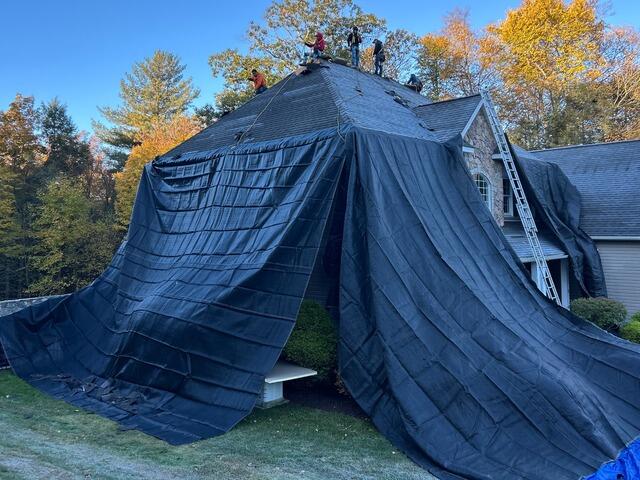
Old Shingles Are Stripped
Our crew begins the renovation by carefully removing the old shingles. To ensure the homeowner's property and landscape are protected, we set up large, heavy-duty tarps for added precaution.
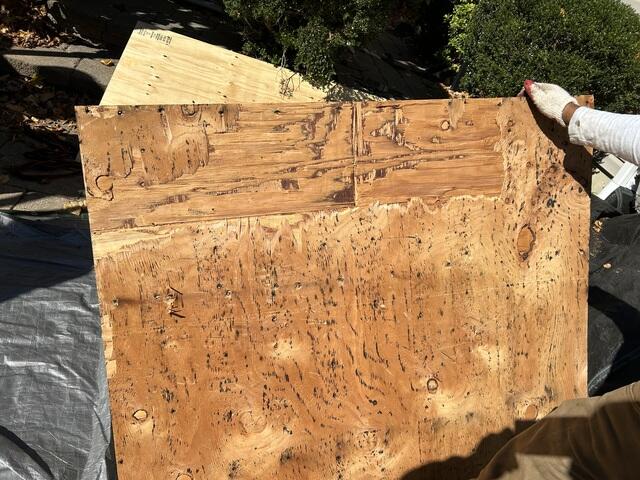
Decking Inspected & Replaced
Underneath the shingles is a layer of plywood foundation. This is carefully inspected for any signs of rot or decay. Any damaged sections, like the one shown here, are swiftly removed and replaced with fresh plywood to ensure a solid base for the new roof.
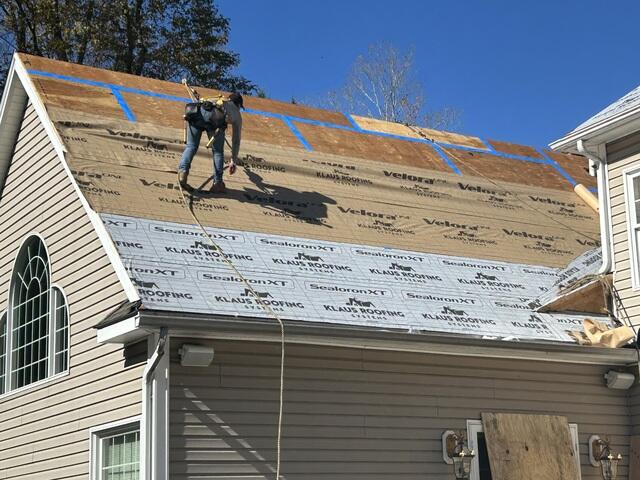
Underlayment Is Installed
Once the new plywood is securely in place, the crew installs a layer of underlayment. This synthetic felt provides a strong waterproof barrier that adheres to the plywood, offering extra protection against harsh elements like rain, snow, and ice.
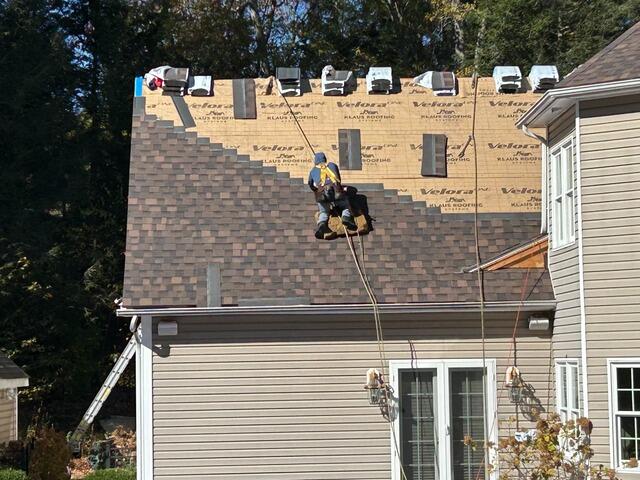
New Shingles Are Installed
After the underlayment is installed over the entirety of the plywood, it's time for the new shingles: IKO Dynasty premium-laminated and the highest quality on the market! Chaz has selected the sleek and sophisticated shade of Shadow Brown for his new roof.
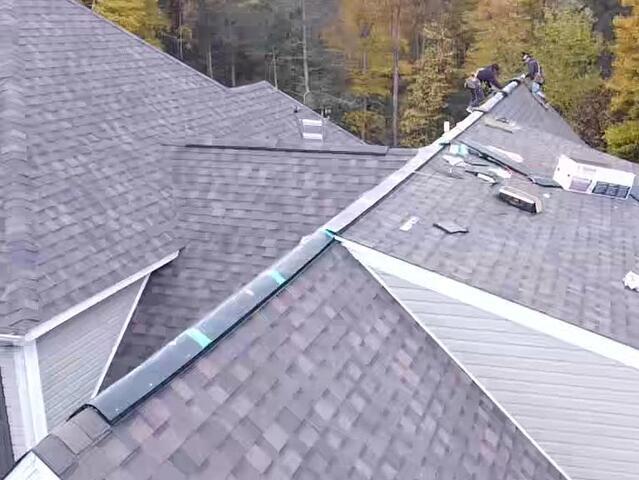
New Ridge Vent Is Installed
A vent is installed at each ridge of the roof to ensure proper air circulation. It allows warm, moist air rising from the house to escape, preventing moisture buildup and ensuring a dry, well-ventilated attic.
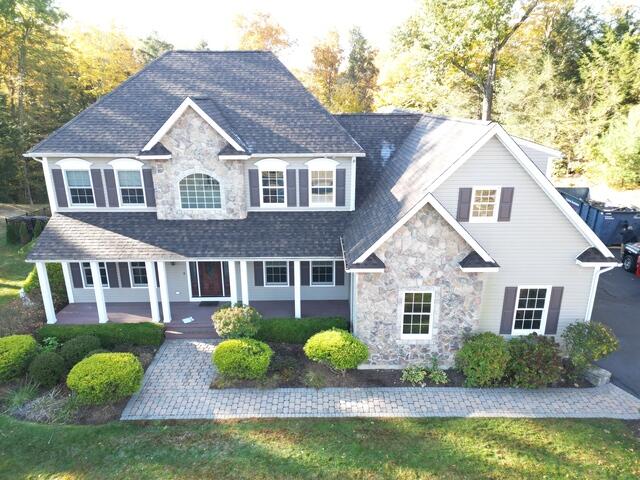
The Roof After
After a few finishing touches, Chaz's new roof is complete - durable, weather-ready, and built to last!

