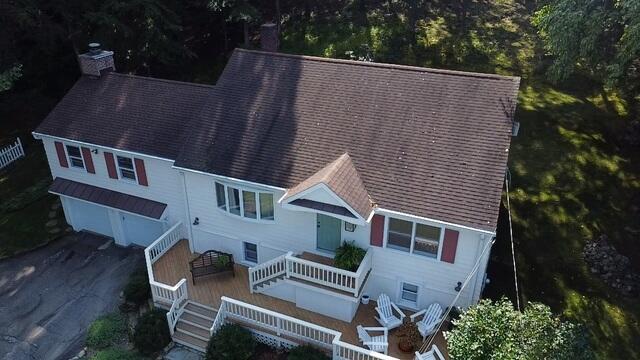
The Roof Before
Even from afar, Patrick's roof was clearly showing its age. Click through to see the transformation!
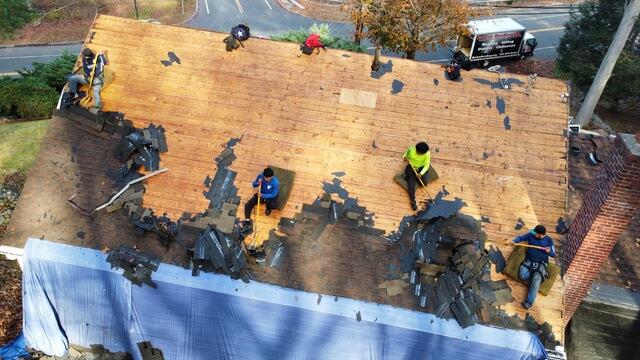
The Old Shingles Are Removed
The process starts with tearing off the old shingles, revealing the plywood layer underneath, known as the roof decking.
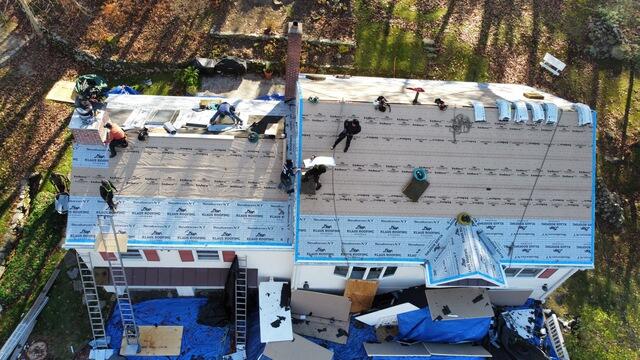
The Underlayment Is Applied
Once the decking passes inspection, the crew installs a layer of underlayment - a thin, durable barrier that shields the roof from moisture, wind, snow, and other harsh elements.
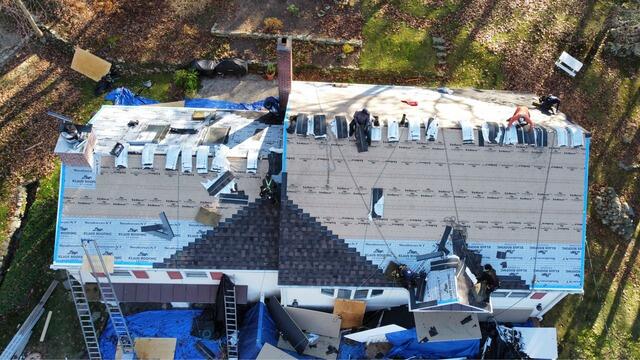
New Shingles Are Installed
With the underlayment securely in place, it's time to install the new shingles! We're using top-of-the-line, premium-laminated IKO Dynasty shingles. Patrick has chosen the sleek and sophisticated Shadow Brown shade for his new roof, ensuring both style and durability for years to come.
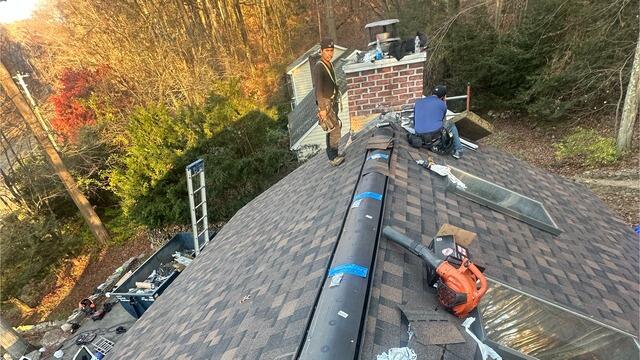
Ridge Vent Is Installed
A ridge vent is installed at the highest point of the roof to ensure proper airflow. It allows hot air to escape from the attic, preventing condensation buildup that could lead to future issues.
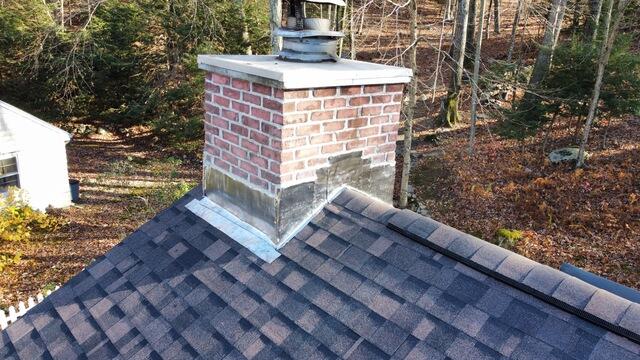
Chimney Gets New Flashing
Flashing is installed around the chimney where it meets the roof. This is a thin, waterproof barrier that ensures water can't seep through joints or vulnerable areas, keeping the roof watertight.
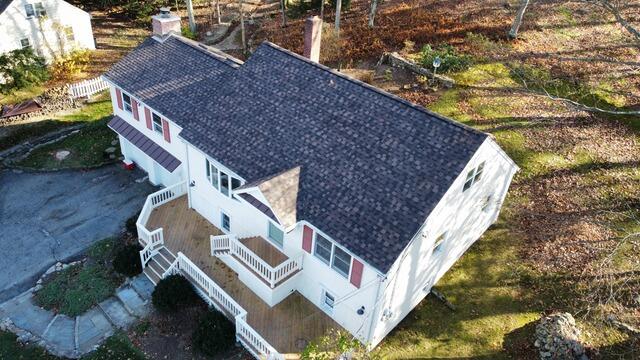
The Finished Look
With a few final touches, Patrick's new roof is complete - built to last and ready to withstand the elements!

