
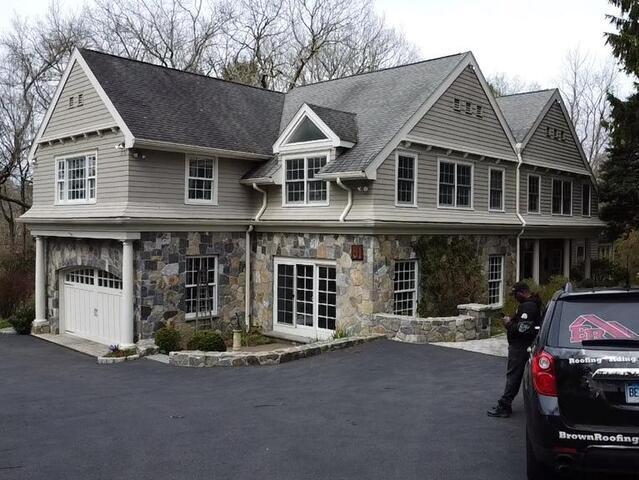
Before: Stains & Discoloration
Elizabeth's old roof had clearly taken a beating from the elements, with deep stains and discoloration visible even from afar.
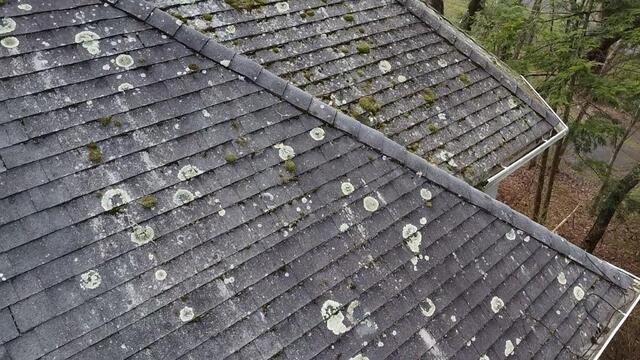
Before: Moss & Lichen Takeover
Large sections of the old roof were overtaken by green moss and white lichen. These moisture-loving plants not only signal excess water retention but also accelerate roof deterioration, especially in heavily wooded areas.
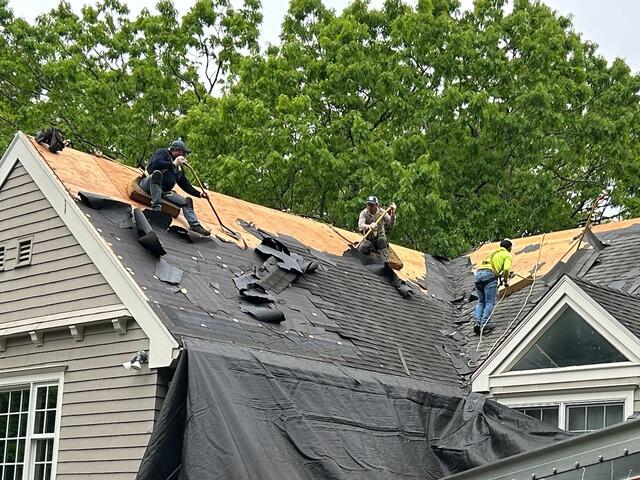
Old Shingles Are Removed
The crew begins the roof renovation process by carefully stripping off the old shingles. Underneath the shingles is a layer of plywood known as the decking, which serves as the structural framework of the roof.
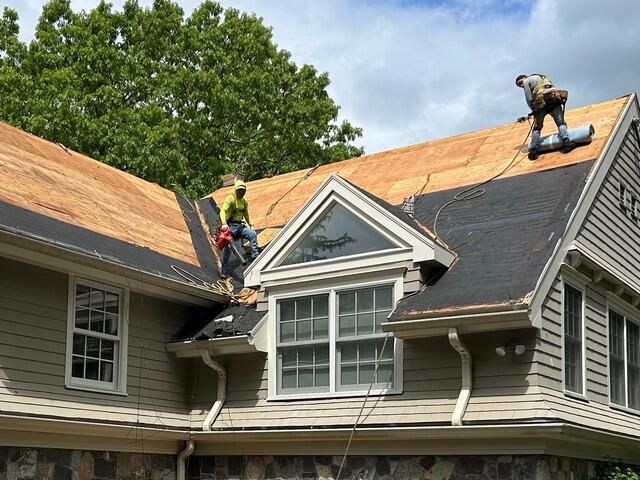
The Decking Is Examined
Our experts found the decking to be in good condition, but some plywood sheets weren't properly secured to the rafters. The crew reinforced each sheet, ensuring a solid foundation.
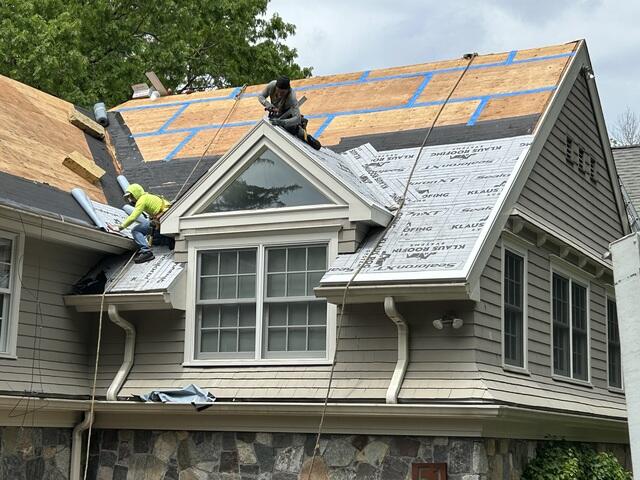
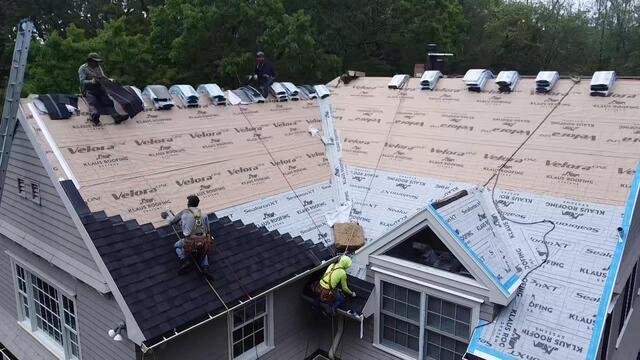
Seams Reinforced & Underlayment Laid
After securing all the plywood sheets, the crew reinforced the decking by taping each seam with heavy-duty deck tape. Next, they apply a layer of underlayment - a thin, water-resistant synthetic felt designed to protect the decking as much as possible from rain, snow, and ice.
Time For New Shingles
With the underlayment fully in place, it's time to install the new shingles. Our experts use premium laminated IKO Dynasty shingles, and for this project, Elizabeth chose the sleek and stylish Glacier color.
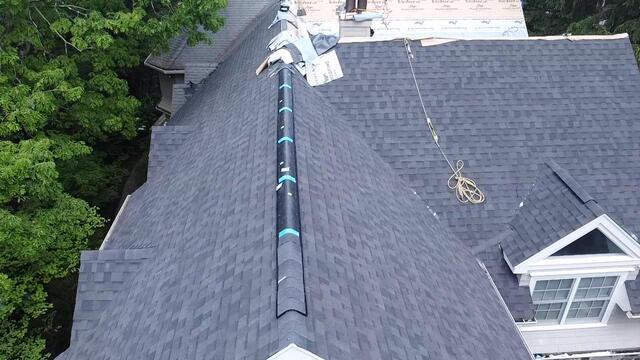
Vent on the Ridge
The crew installs a ridge vent at the highest point of each roof section to ensure proper air circulation. This allows hot, humid air to escape as it rises, preventing condensation buildup and potential damage.
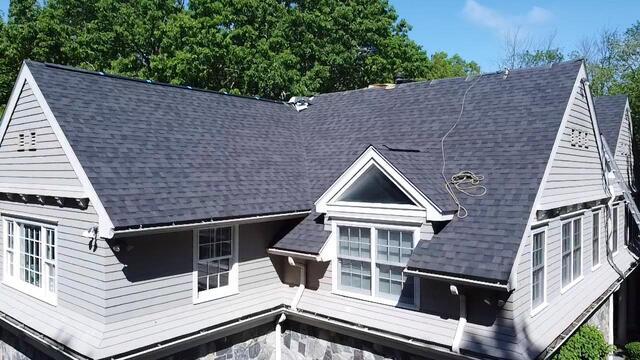
The Roof Is Done
After a few finishing touches, Elizabeth's new roof is complete!