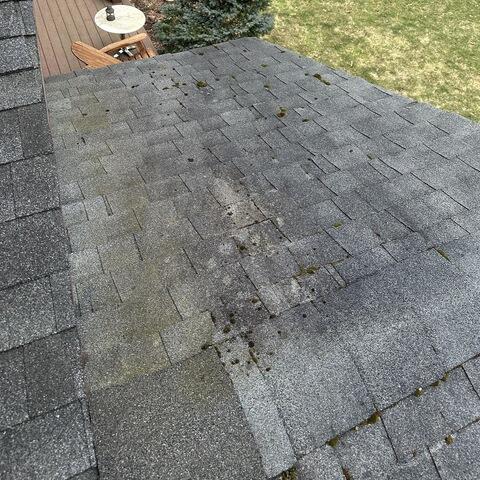
Algae Stained Roof
In addition to leaks and roof damage, this roof also had algae and moss growth its shingles. These problems are unattractive and can damage the shingles over time. The first step of this roof replacement will be removing all of these shingles.
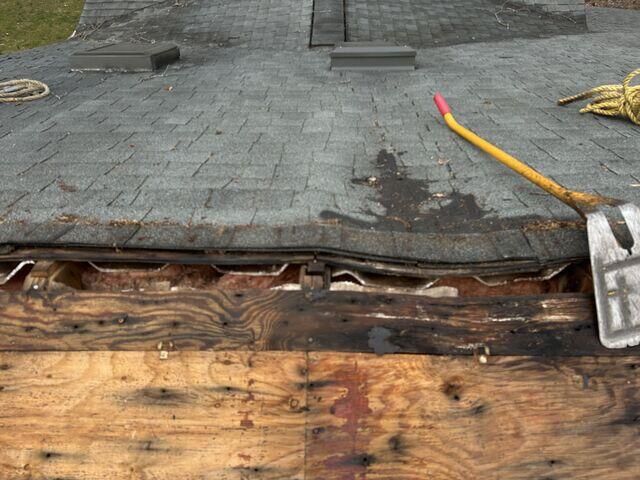
Removing the Shingles and Finding Damage
When our crew began removing the old shingles from this roof, they discovered significant damage. This dark and warped wood is definitely incapable of protecting this home. All of this damaged wood will be removed and replaced.
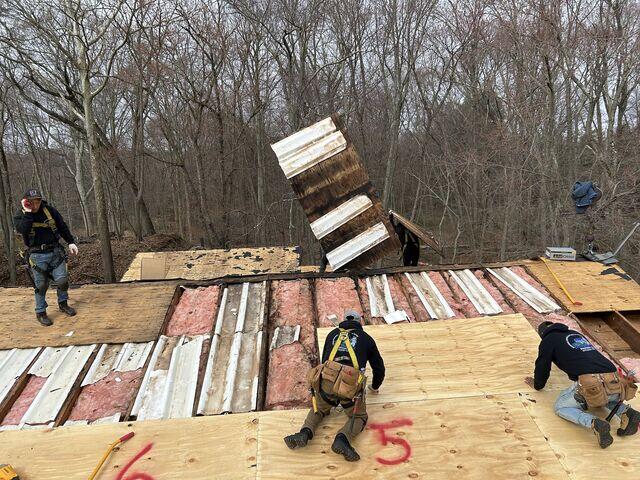
Installing New Wood Decking
This photo shows our crew members installing bright new plywood onto the roof. In order to ensure the safety of this home, all of the damaged wood had to be removed. This sturdy new plywood provides a great base for the rest of the roofing material that is yet to be installed.
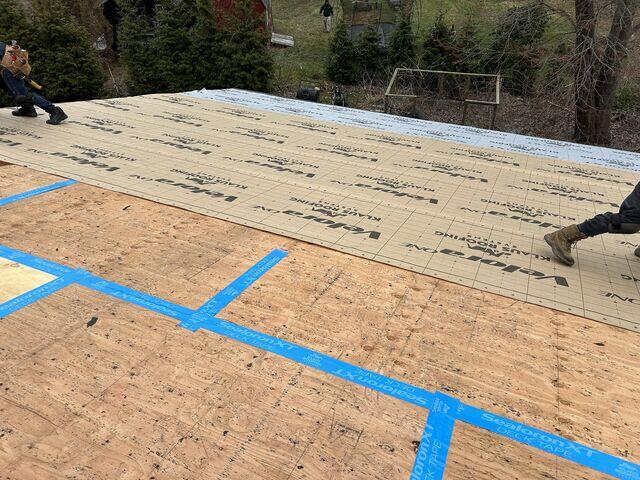
Protecting the Roof Against Water Damage
Before installing the new shingles onto this roof, our crew makes sure to protect the wood decking. Decking tape is used to seal off all of the edges of the plywood. Next, two types of underlayment are installed all over the roof, which will keep water out. This crucial step of the roof replacement process will prevent water damages such as leaks, holes, and wood rot. Since this roof has experienced water damage before, this extra layer of protection is sure to put this homeowner's mind at ease.
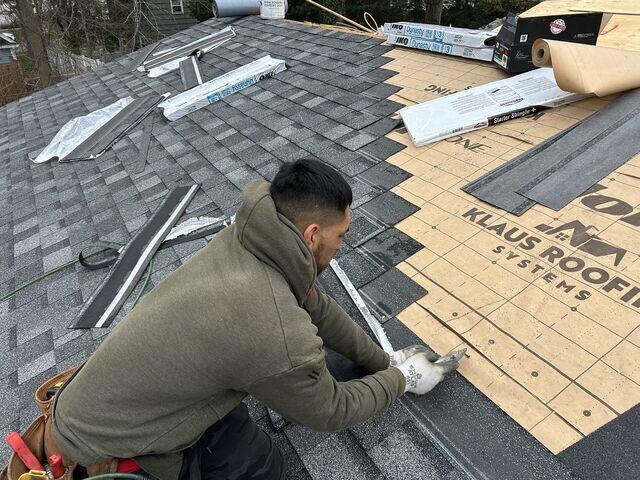
Laying the Shingles
This photo shows one of our crew members skillfully installing new IKO Dynasty shingles onto the roof. Since the shingles are the first defense against rain, snow, and debris, it is necessary to have reliable shingles. These new shingles have a class 3 Impact Resistance rating, and built in algae resistance. This customer chose the shingle color Summit Gray.
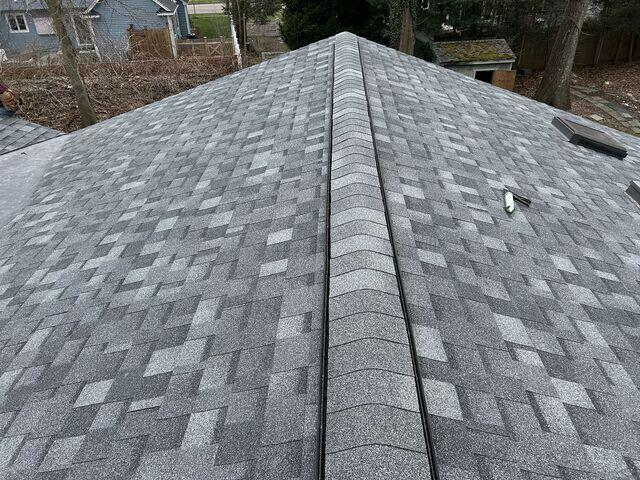
Gorgeous New Roof
After installing all of the new shingles, our crew put in a new ridge vent. This vent will prevent condensation and mold in this home's attic. This beautiful roof transformation can be attributed to our hard working crew and high-quality materials.

